April 25, 2020 / Quarantine Week 6
Along with the stress and worry of catching ‘Rona, another unforeseen consequence of this virus is the group of kids who will be celebrating their birthdays in isolation. Sadly, both my kids are members of this crappy group. It really broke my heart as a parent trying to plan these special days the best I could. Not many stores were opened, so it was quite interesting and I had to use all my creative skills to find decorations and present in CVS and the grocery store. All I can say is thank goodness for Amazon!
One thing I did try and do for both kids was to make their dream cake just to make the day a tad bit special. My son’s favorite cake is a simple one….boxed yellow cake in the Air Fryer Oven with Publix frosting. I have a great Publix frosting copy cat recipe I’ve made many times before. To make his cake special I decided to break out my cake decorating arsenal and I decorated his cake with frosting succulents (he loves those little plants).

Daniel’s 16th Birthday Boxed Yellow Cake in the Omni with copcat Publix Frosting.
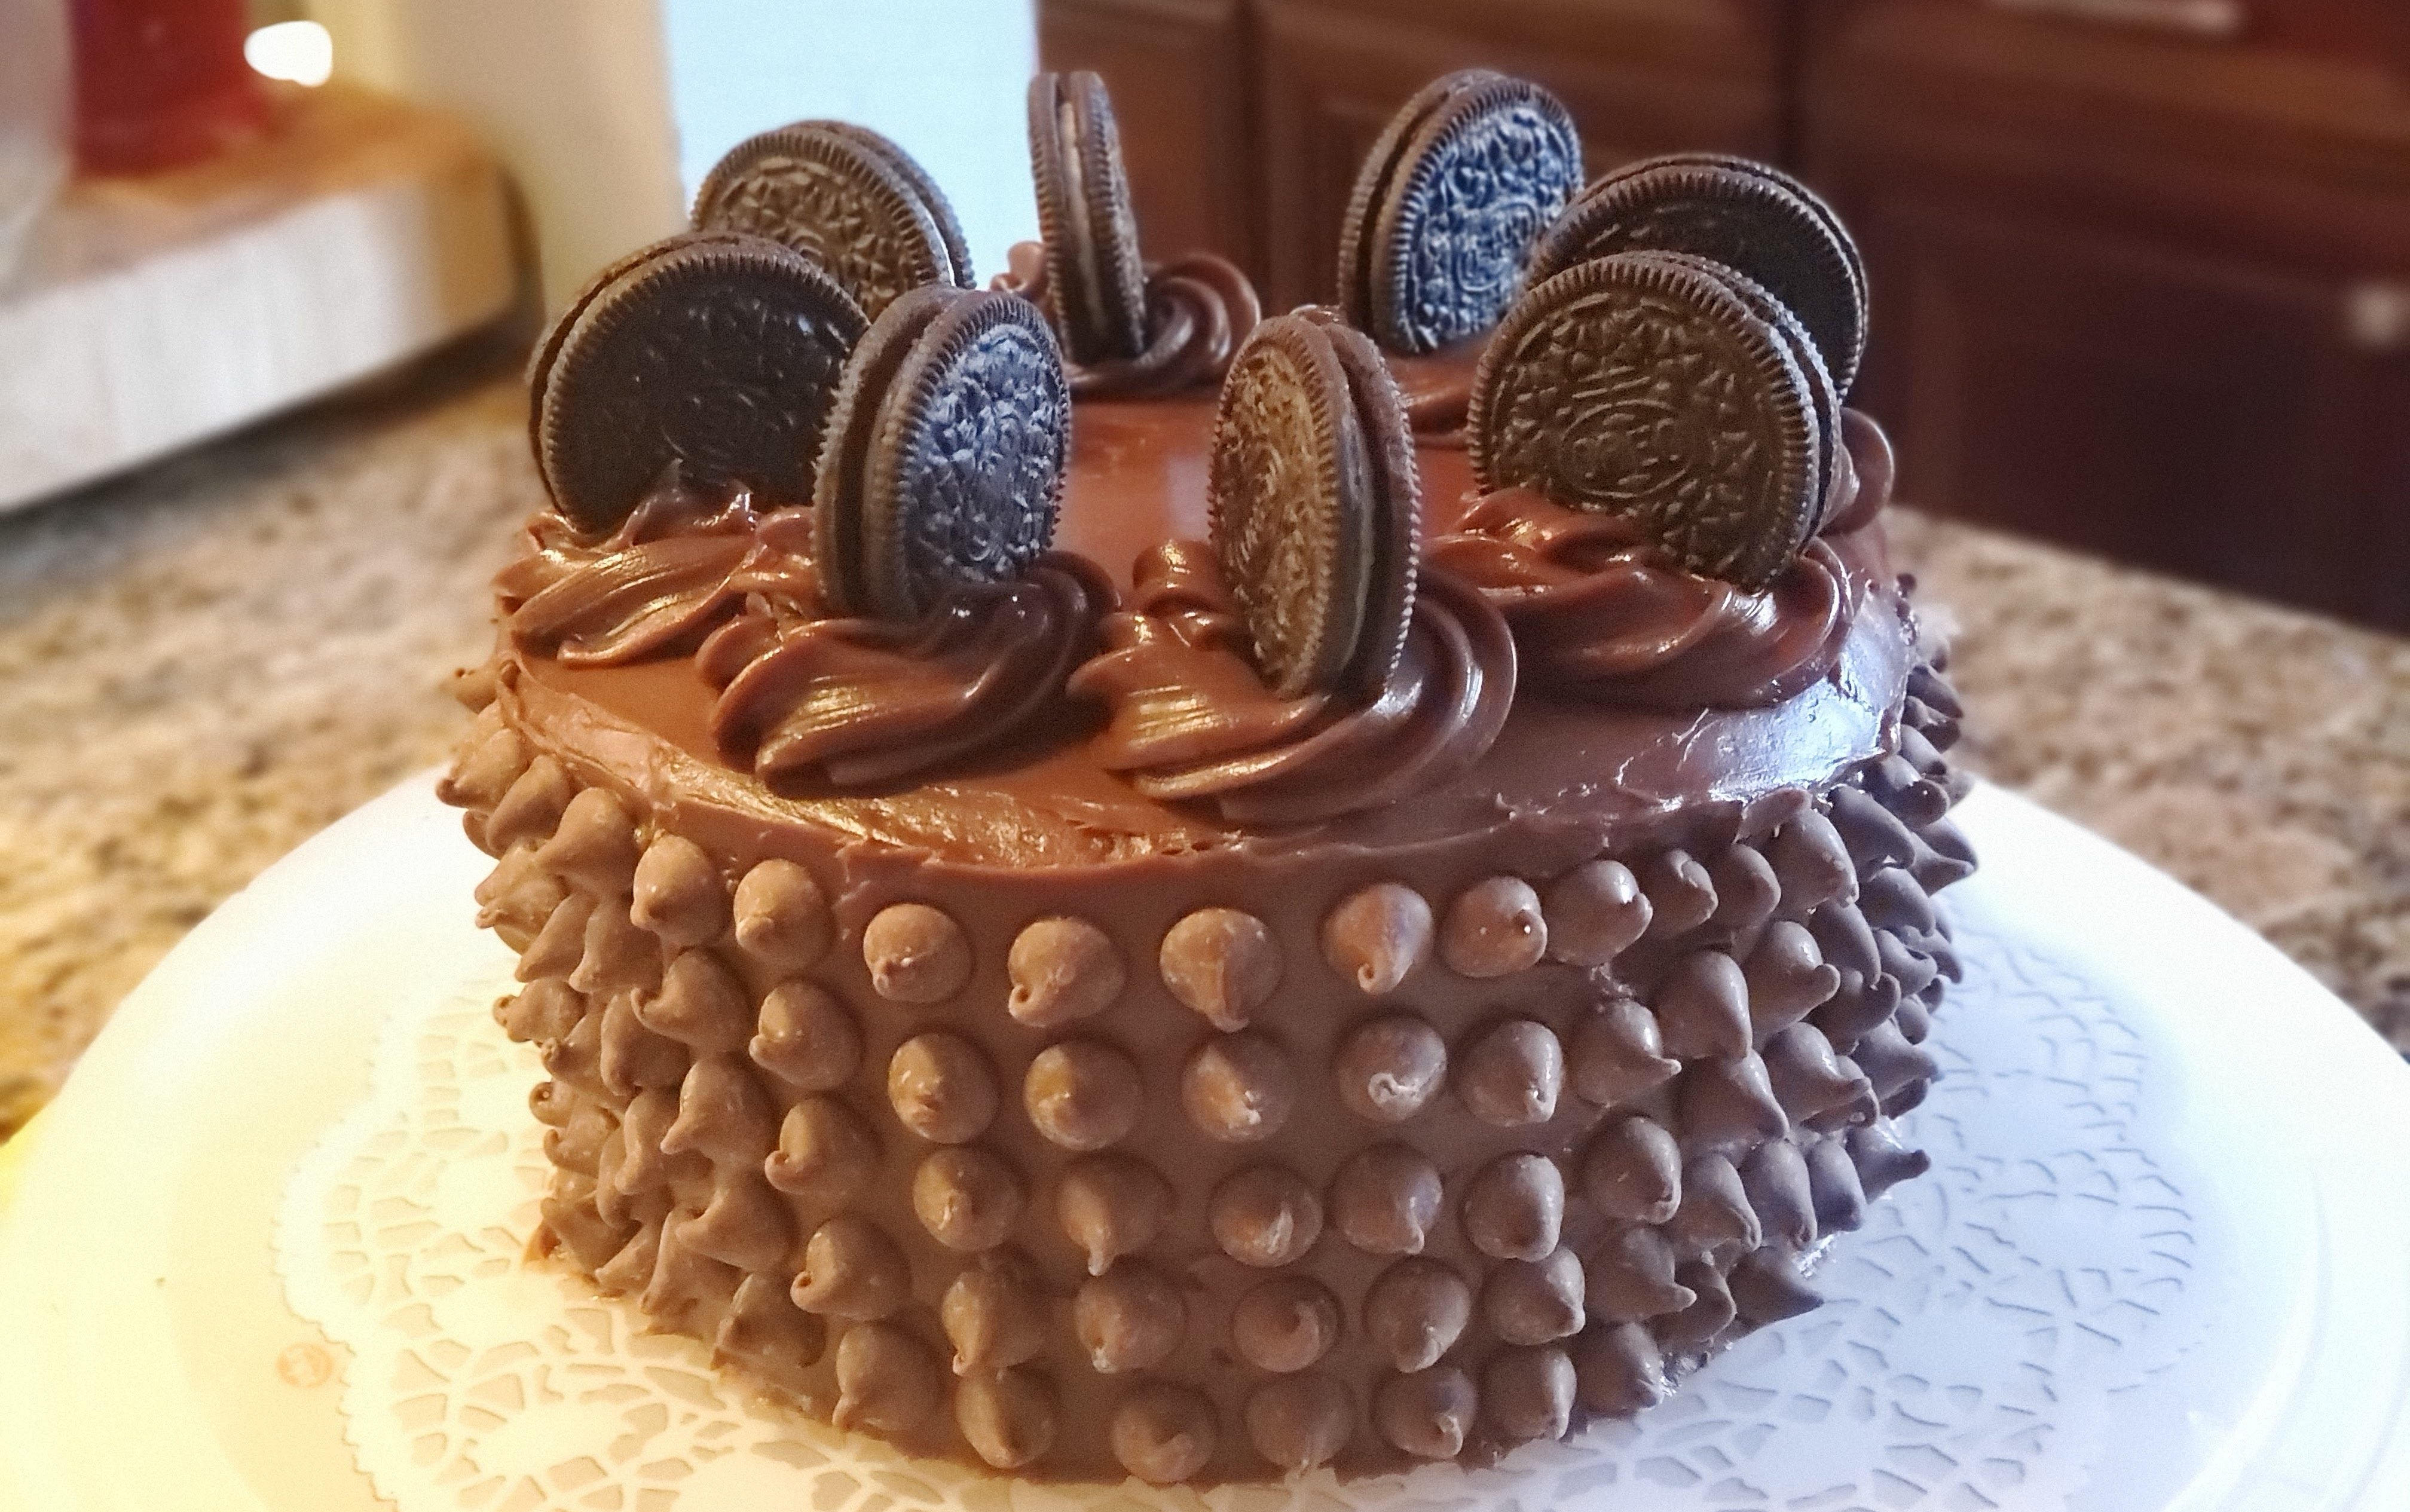
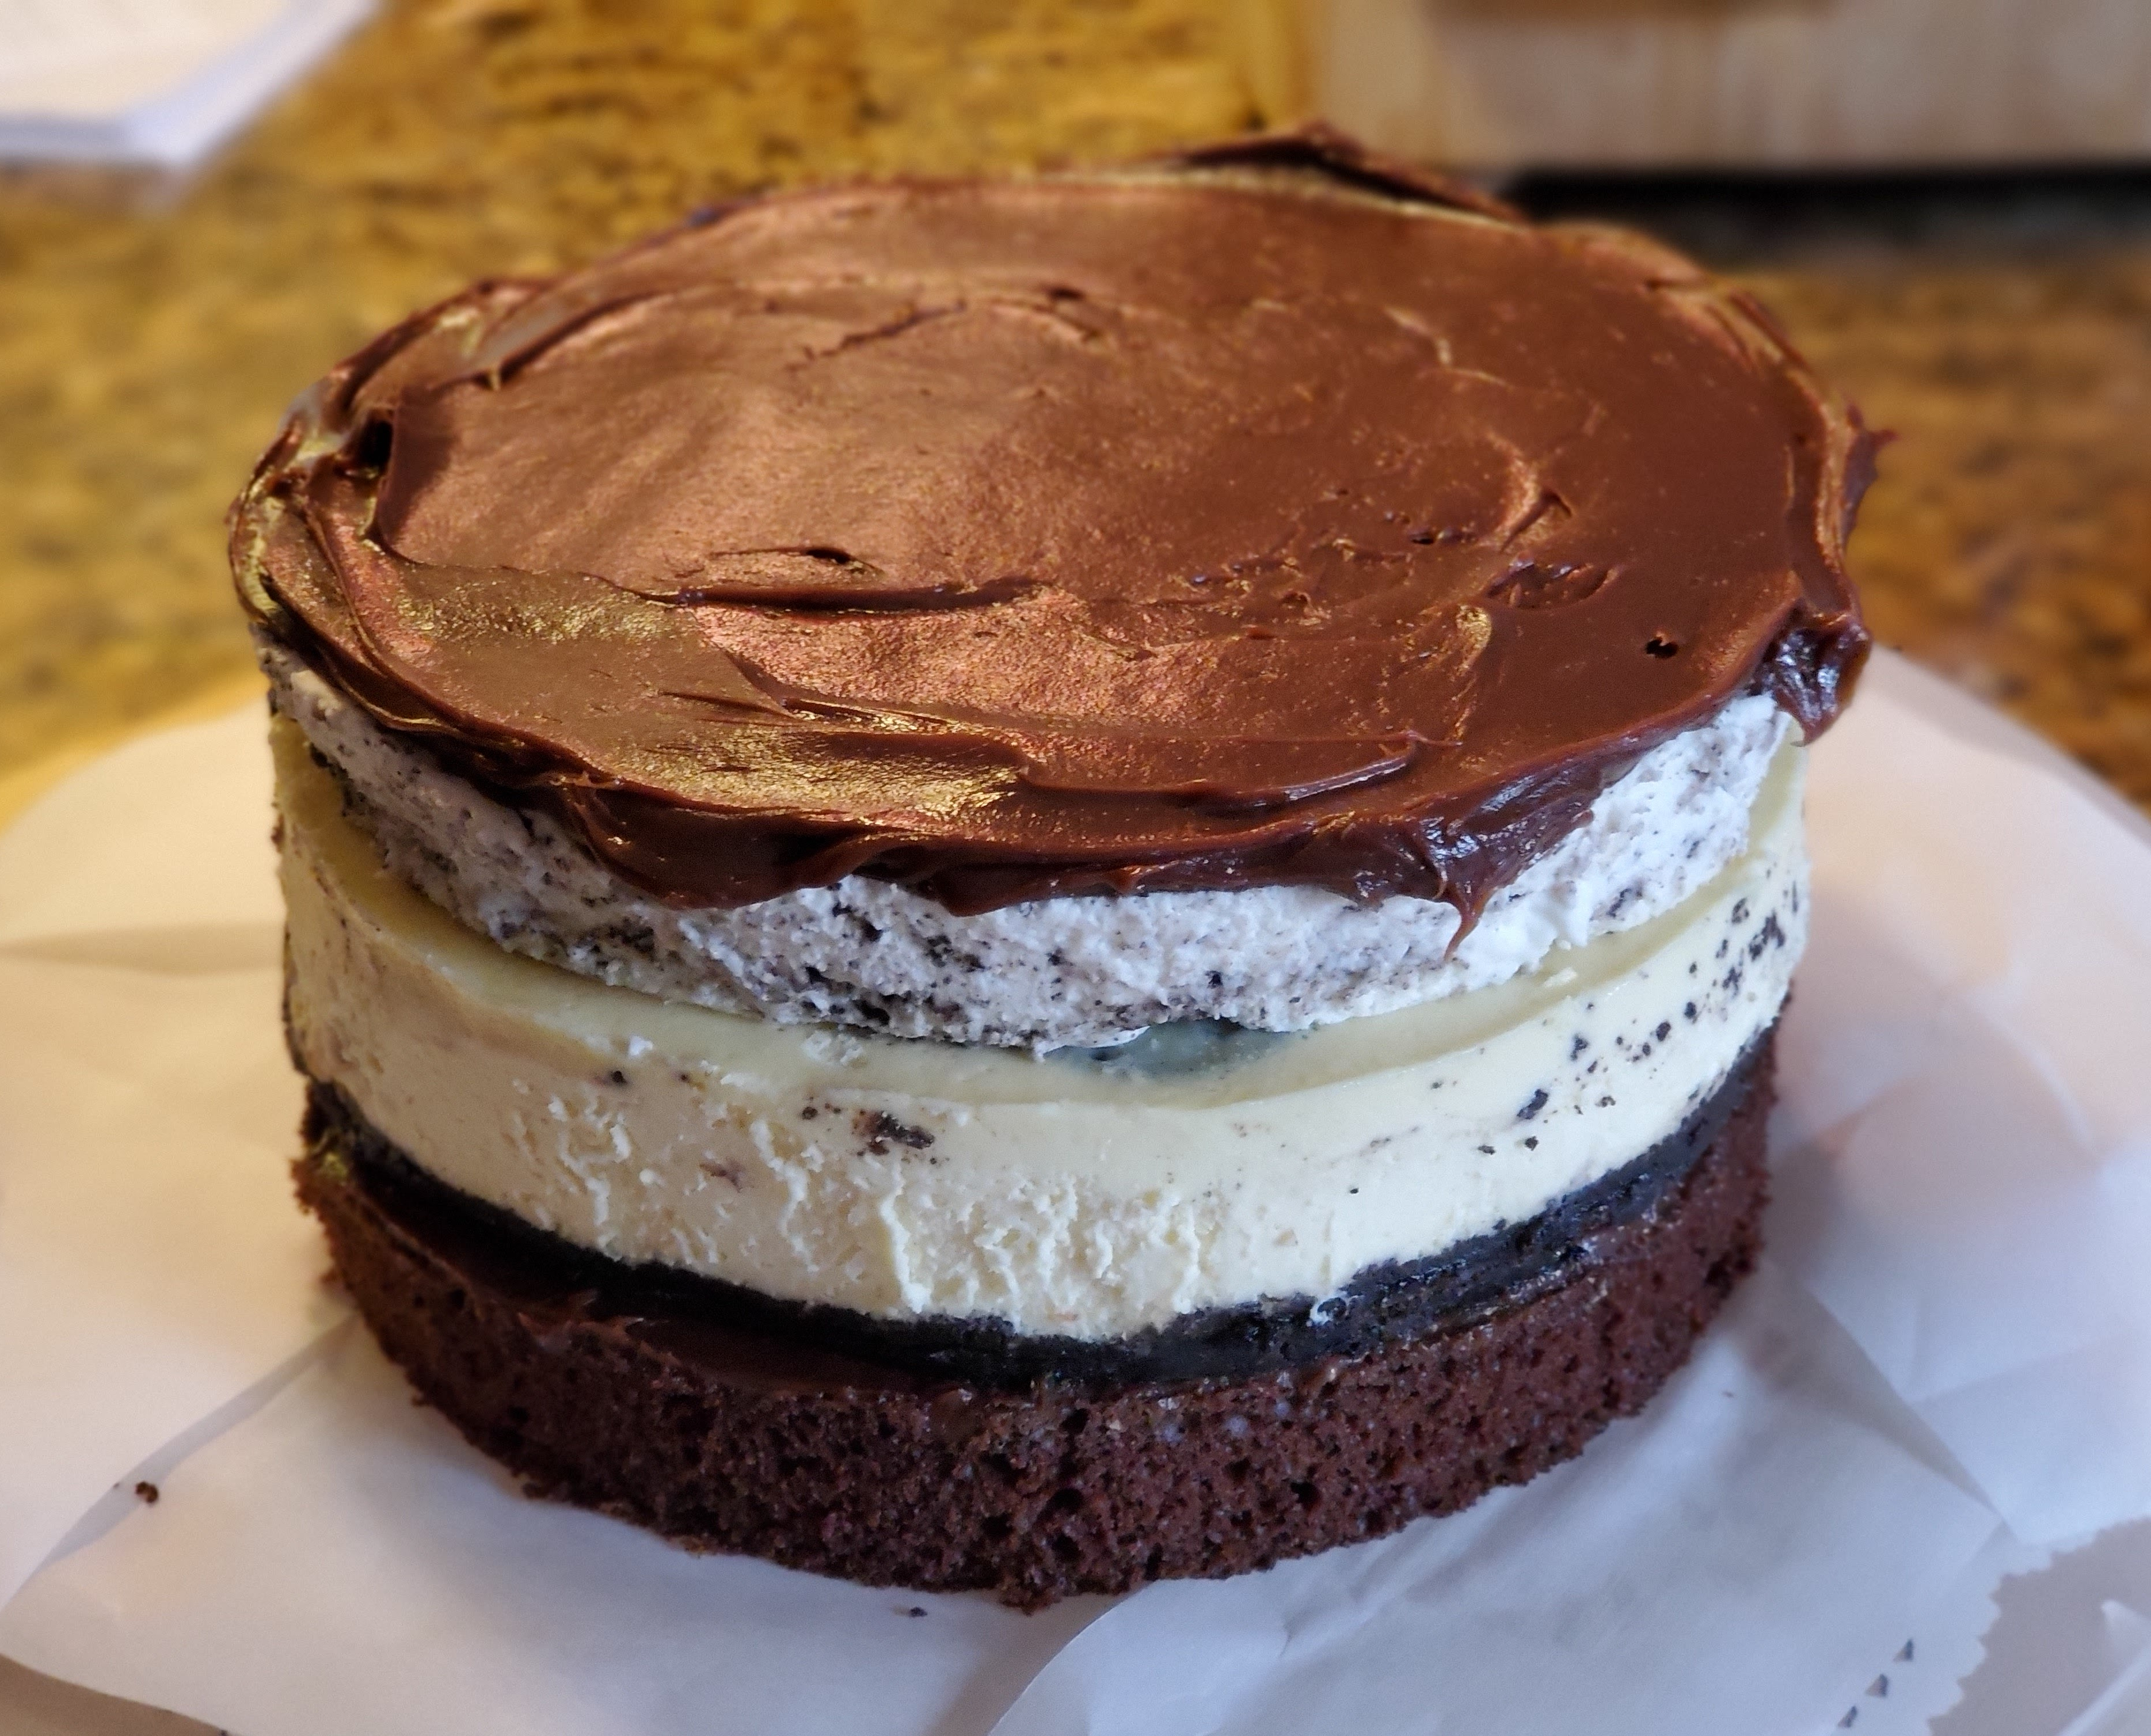
However, 2 weeks later my daughter turned 19 and her dream cake was not as easy. Her favorite cake of all time is the Oreo Dream Extreme Cheesecake from Cheesecake Factory. If you have never had it, it’s pretty spectacular. It’s a layer of chocolate cake, a layer of milk chocolate icing, then a layer of Oreo cheesecake with whole Oreo cookies inside, a layer of Oreo cookie mousse, and then a milk chocolate frosting. But, I made a promise and so I decided to take this challenge on!

I knew this one was going to take a few days, so I started my research on combining recipes and finding the best way to construct this beast. The Oreo Cheesecake layer was easy, I have a great Instant Pot cheesecake recipe and I just added Oreos to it. I also decided to add an Oreo cookie crust to add a layer of crunch. The Milk Chocolate Frosting layer was a converted recipe from America’s Test Kitchen Milk Chocolate Frosting recipe which is really yummy and I found that using the Instant Pot as a double boiler makes it even easier. The Oreo Cookie Mousse layer I researched a few recipes and did a mix of a few copy cat recipes (I really liked some of the techniques by Catalina Castravet). This was the toughest layer only because I needed to make sure it was sturdy enough. Most recipes use a springform pan, but I didn’t have another 7 inch Springform pan, so I used my Flanera. You can use any 7 inch pan but I had to convert it so it could come out clean without sticking. Last the Chocolate Cake layer was a really simple one because I just followed my Boxed Chocolate Cake recipe fro the Instant Omni/Vortex Plus. It makes the cake layer moist but sturdy enough to hold up all the other layers.
Instant Pot (and Omni/Vortex Plus) Copy Cat Cheesecake Factory Oreo Dream Extreme Cheesecake
recipe by Lana Horruitiner-Perez converted using recipes from America’s Test Kitchen and Catalina Castravet’s copy cat oreo mousse technique
Oreo Cheesecake Layer:
Oreo Cookie Crust:
- 12 Oreo Cookies
- 2 Tbl Butter, melted
Cheesecake Batter:
- 16 oz Cream Cheese, room Temperature and cut into 1 inch squares
- 1/2 cup Sugar
- 1/4 cup Sour Cream, room temperature
- 1 tsp Vanilla
- 2 Whole Eggs, room temperature
- 1 Egg Yolk, room temperature
- 1/8 cup Heavy Cream, room temperature
- 1 tsp All-Purpose Flour
- 6 Oreos, whole for the Cheeseacke
- 8 Oreos, whole for decorating
Oreo Mousse Layer:
- 1/2 envelope (1 1/8 teaspoons) Powdered Gelatin
- 5 Tbl Whole Milk
- 1/2 cup Heavy Cream, cold
- 1/4 cup Powdered Sugar
- 1 tsp Vanilla
- 5 Oreos, crushed
Chocolate Cake Layer:
- Pillsbury Devils Food Cake mix
- 1 cup Water
- 1/2 cup Vegetable Oil
- 3 Eggs
Milk Chocolate Frosting:
- 16 oz Milk Chocolate Chips (**you can use Ghiradelli Milk Chocolate Bars, just make sure it’s Milk Chocolate not Semi-Sweet**)
- 2/3 cups Heavy Cream
- 2 sticks (16 Tbl) Unsalted Butter, softened and cut into pieces
Equipment:
- 2 – 8 inch Cake Pans and Foil
- 1 – 7 inch Spirngform Pan
- 1 – 7 inch Flanera or round metal pan
- PAM spray
- Piping Bag with Tip of your choice
- 6 or 8 QT Instant Pot or Electric Pressure Cooker
- Instant Omni/Omni Plus/Vortex Plus
**You are going to start making the cheesecake and the mousse first, because they have to sit overnight.**
Step 1: Cheesecake Layer
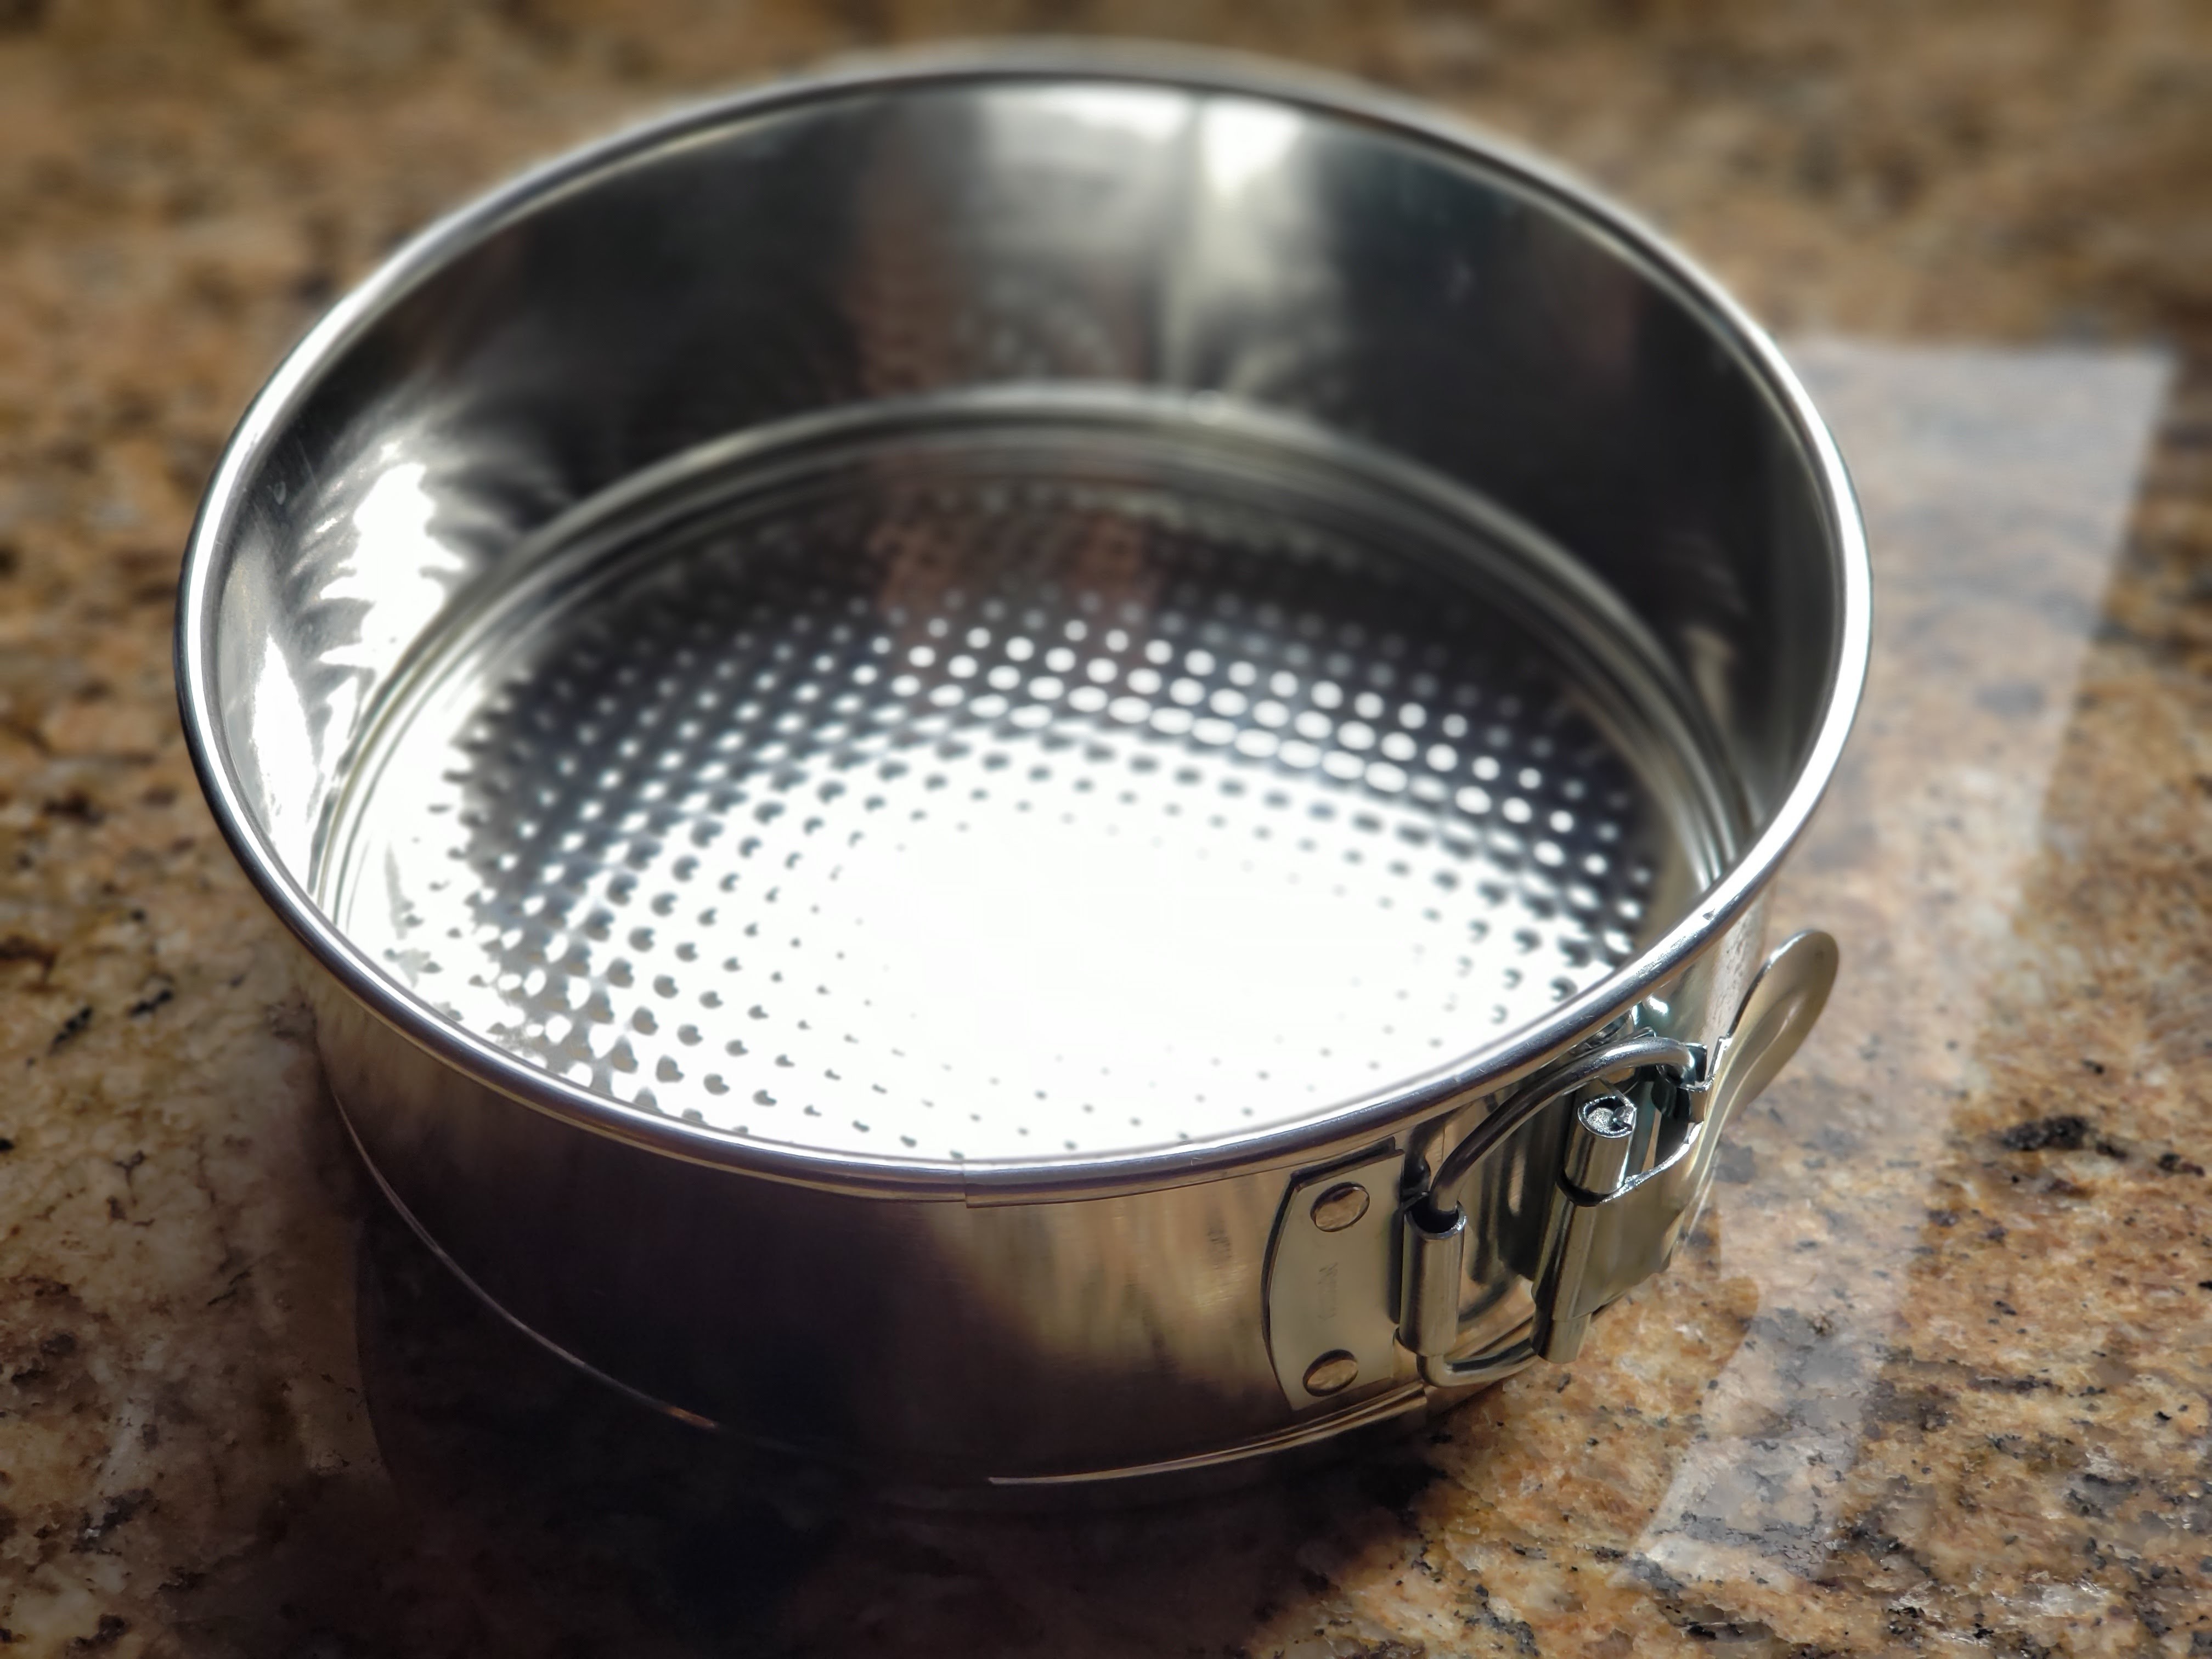
Grease your 7 inch springform pan with PAM. Then cut out a round piece of parchment and place in in the pan. Respray with more PAM. Set aside.


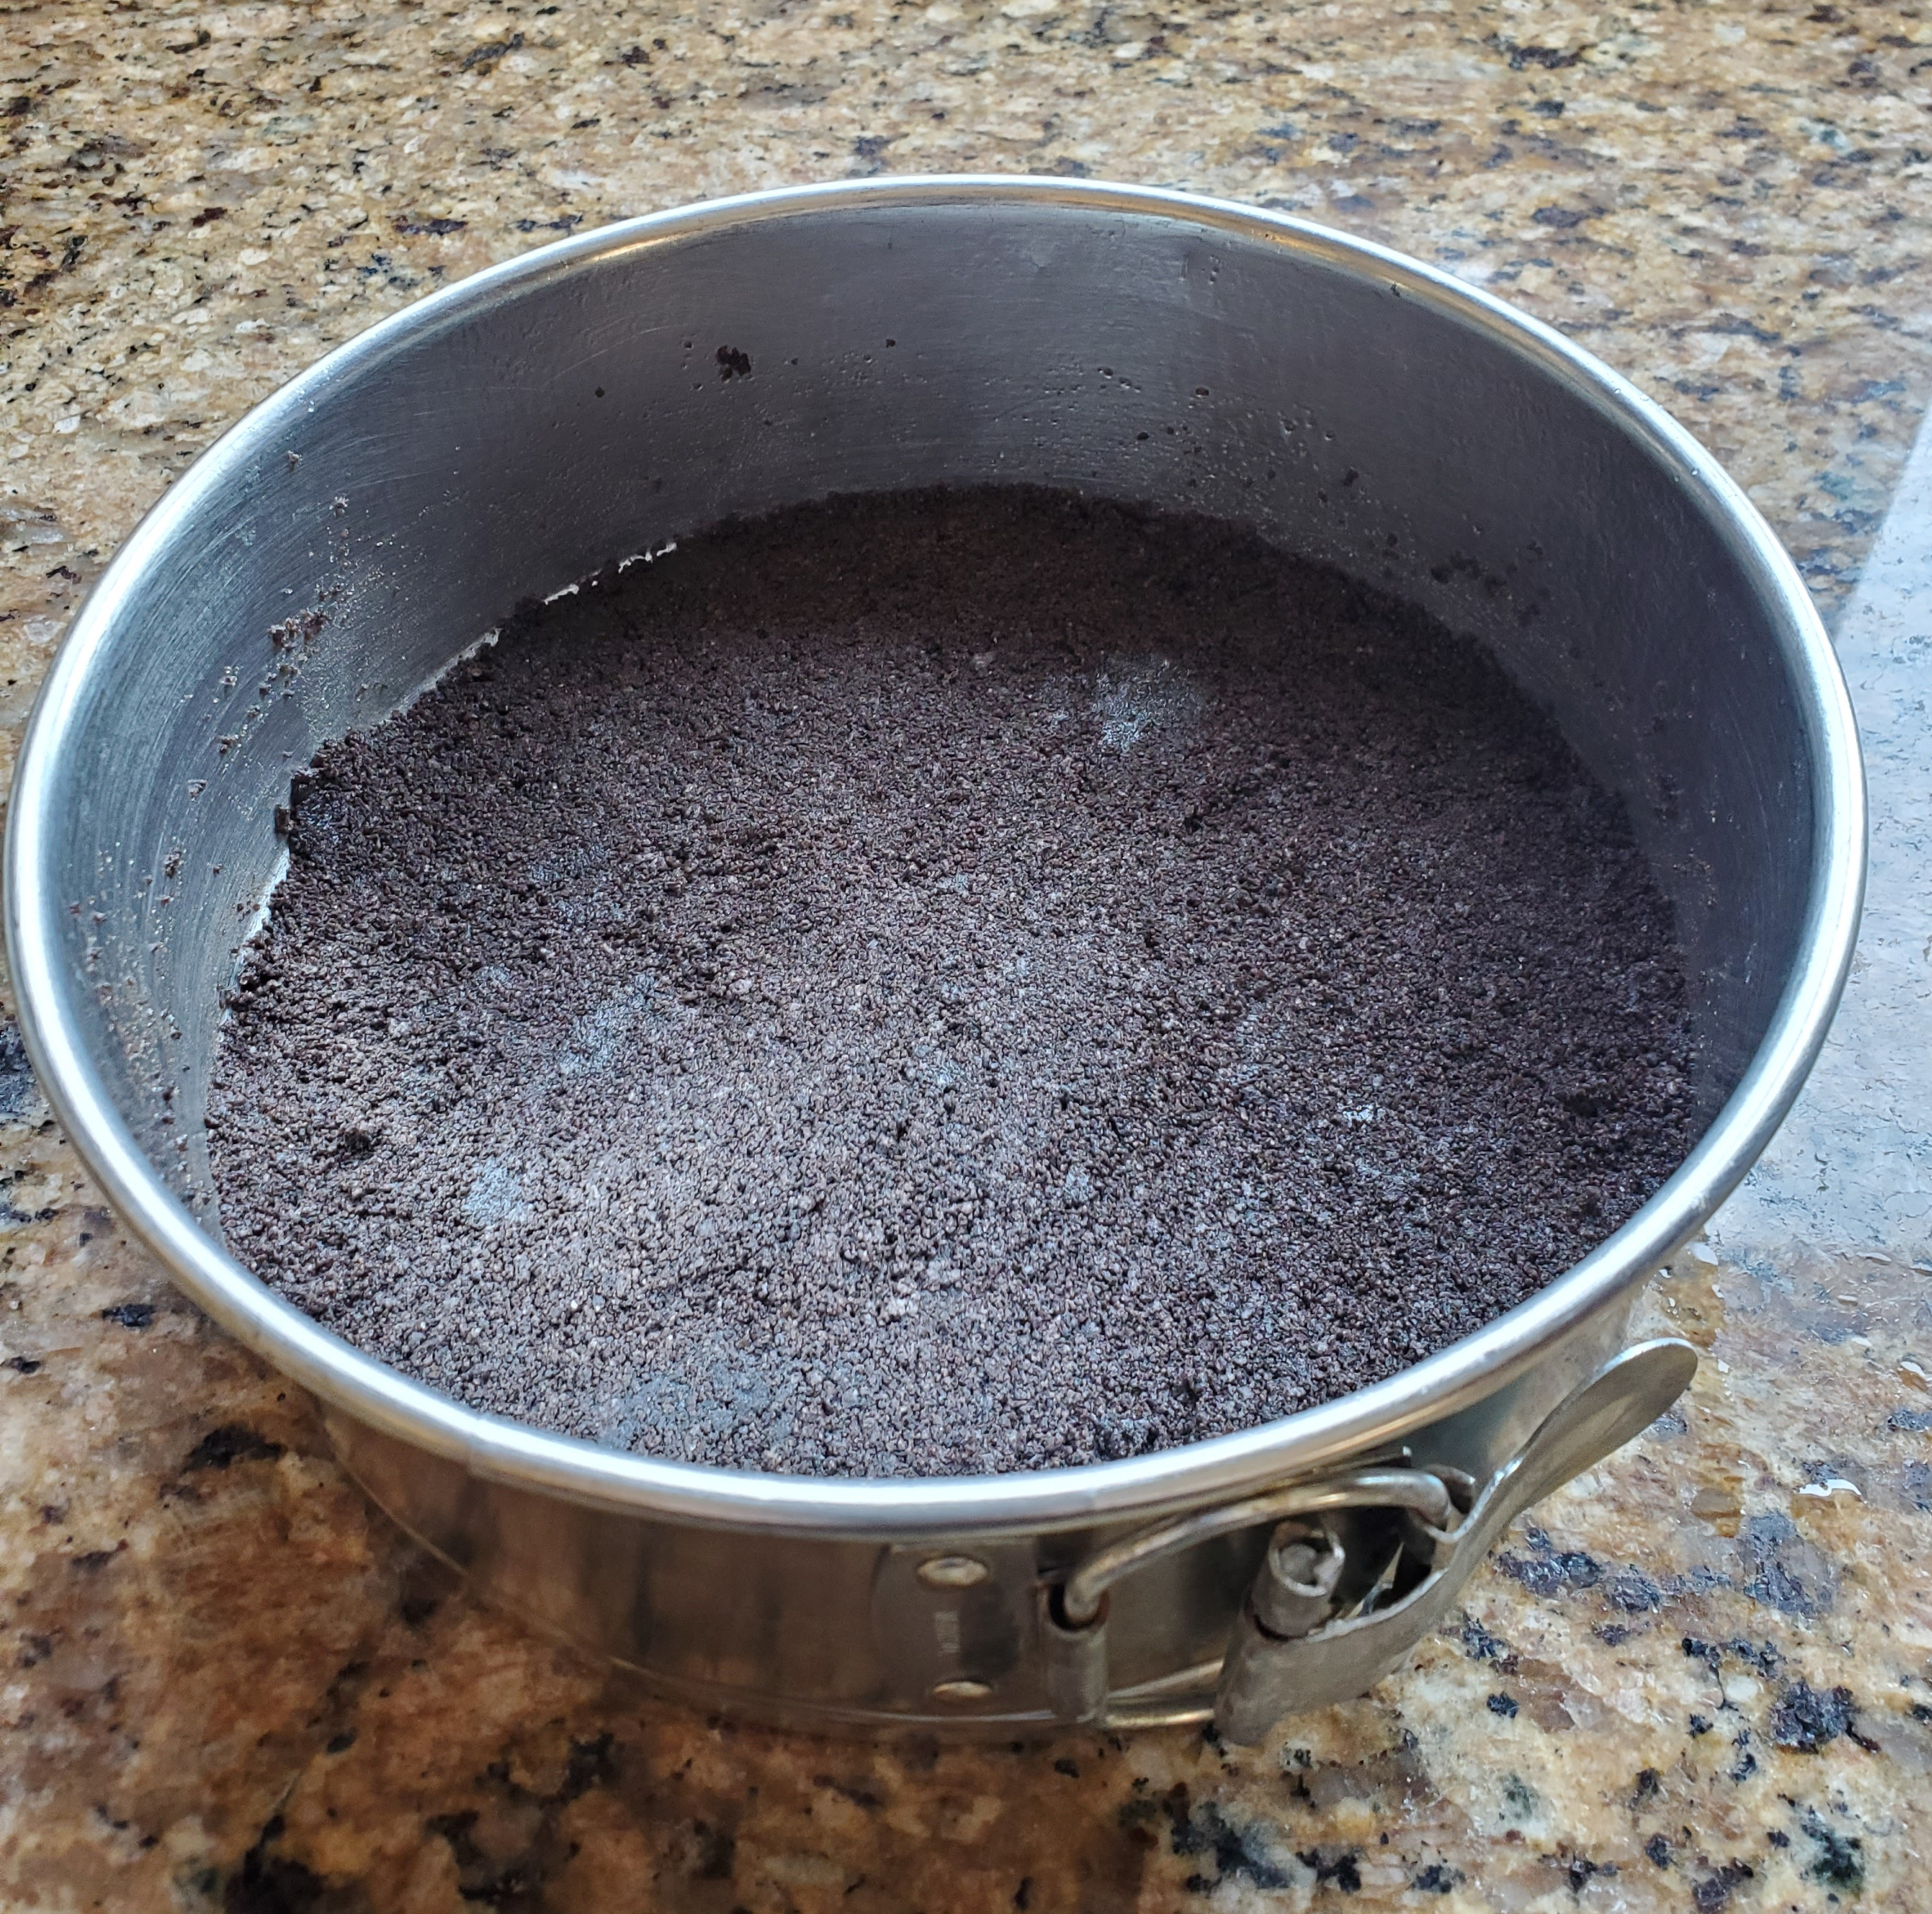
Place the 12 Oreo Cookies into a food processor. Pulse until crushed and resembles a sand like texture, about 30 – 1 second pulses.
Drizzle 2 Tbl melted Butter into the food processor and pulse until incorporated.


Pour Oreo Cookie mixture into the Springform pan and press until you get an even layer on the bottom of the pan. I like to use a flat bottom measuring cup to press the crust. Place in the freezer for at least 30 mins. Clean the bowl of the food processor for the next step.While the crust is in the freezer, start combining the filling.
In the clean food processor, add the 16 oz Cream Cheese, 1/2 cup Sugar, 1/4 cup Sour Cream, 1/8 cup Heavy Cream, 1 tsp Flour, and 1 tsp Vanilla. DO NOT ADD THE EGGS YET! (Important Tip** The key to a smooth and creamy cheesecake is for all the ingredients to be at room temperature. However, if you are forgetful like I am, it’s hard to remember to put out the ingredients an hour ahead of time. However, there are ways to get around this. For the Cream Cheese and Sour Cream, you can microwave them on the defrost setting for a few seconds. Just check the temperature after 10 seconds. You don’t want it to be hot or even warm. Just not cold. To bring eggs to room temperature, just place them in a large glass of warm water for a minute.) 
-Blend on low until smooth. Then add each Egg and the Egg Yolk, one at a time, pulsing twice each time an egg is added. Pour the mixture into a large bowl. If there are any yellow streaks, just fold them in by hand. Let the mixture sit while you work on the next step. 
Gently pour 1/2 of the Cheesecake mixture into the springform pan with the Oreo crust. Add the 6 whole Oreos and then pour the rest of the batter on top. The Oreos will rise to the top. Just push them down so they are covered but don’t worry about them not sinking.


Cover the cheesecake loosely with foil.
In your Instant Pot, add 1 1/2 cups Water and then place the trivet in the Instant Pot. You do not want the cheesecake to sit in the water! If you don’t have the trivet with the handles, you can make a foil sling by folding a 12 inch piece of foil long ways into a strip that is about 1 inch wide. You will use this to lower your cheesecake into the Instant Pot. I keep my sling in a drawer so I don’t have to make one every time. Fold down the ends just so they don’t get caught when you close the lid.  Place and Lock the lid on the Instant Pot and turn the vent to “Seal”. Press the “Manual” button and increase the time to 50 mins High Pressure. Once it is done cooking, allow the pressure to Naturally Release completely which will take anywhere from 18-20 mins. Once it’s done try and lift the lid straight up so the condensation water doesn’t fall on the cake.
Remove the cheesecake and place on a cooling rack. Remove the foil and if there is any water on the top of the cake, just use a paper towel to lightly draw up the water from the top. Allow the cheesecake to cool on the wire rack for 60 mins then cover with cling wrap and place in the fridge overnight.
Step 2: Oreo Mousse Layer
Prepare a 7 inch Flanera/Springform Pan/Cake Pan by spraying with PAM, placing a round of Parchment Paper, and then spraying with PAM again. Set aside.
Place a large bowl (or the bowl of a stand mixer) into the fridge or freezer to cool.
Place 5 Oreo Cookies into a ziploc bag and crush until they are small pieces. Set aside.


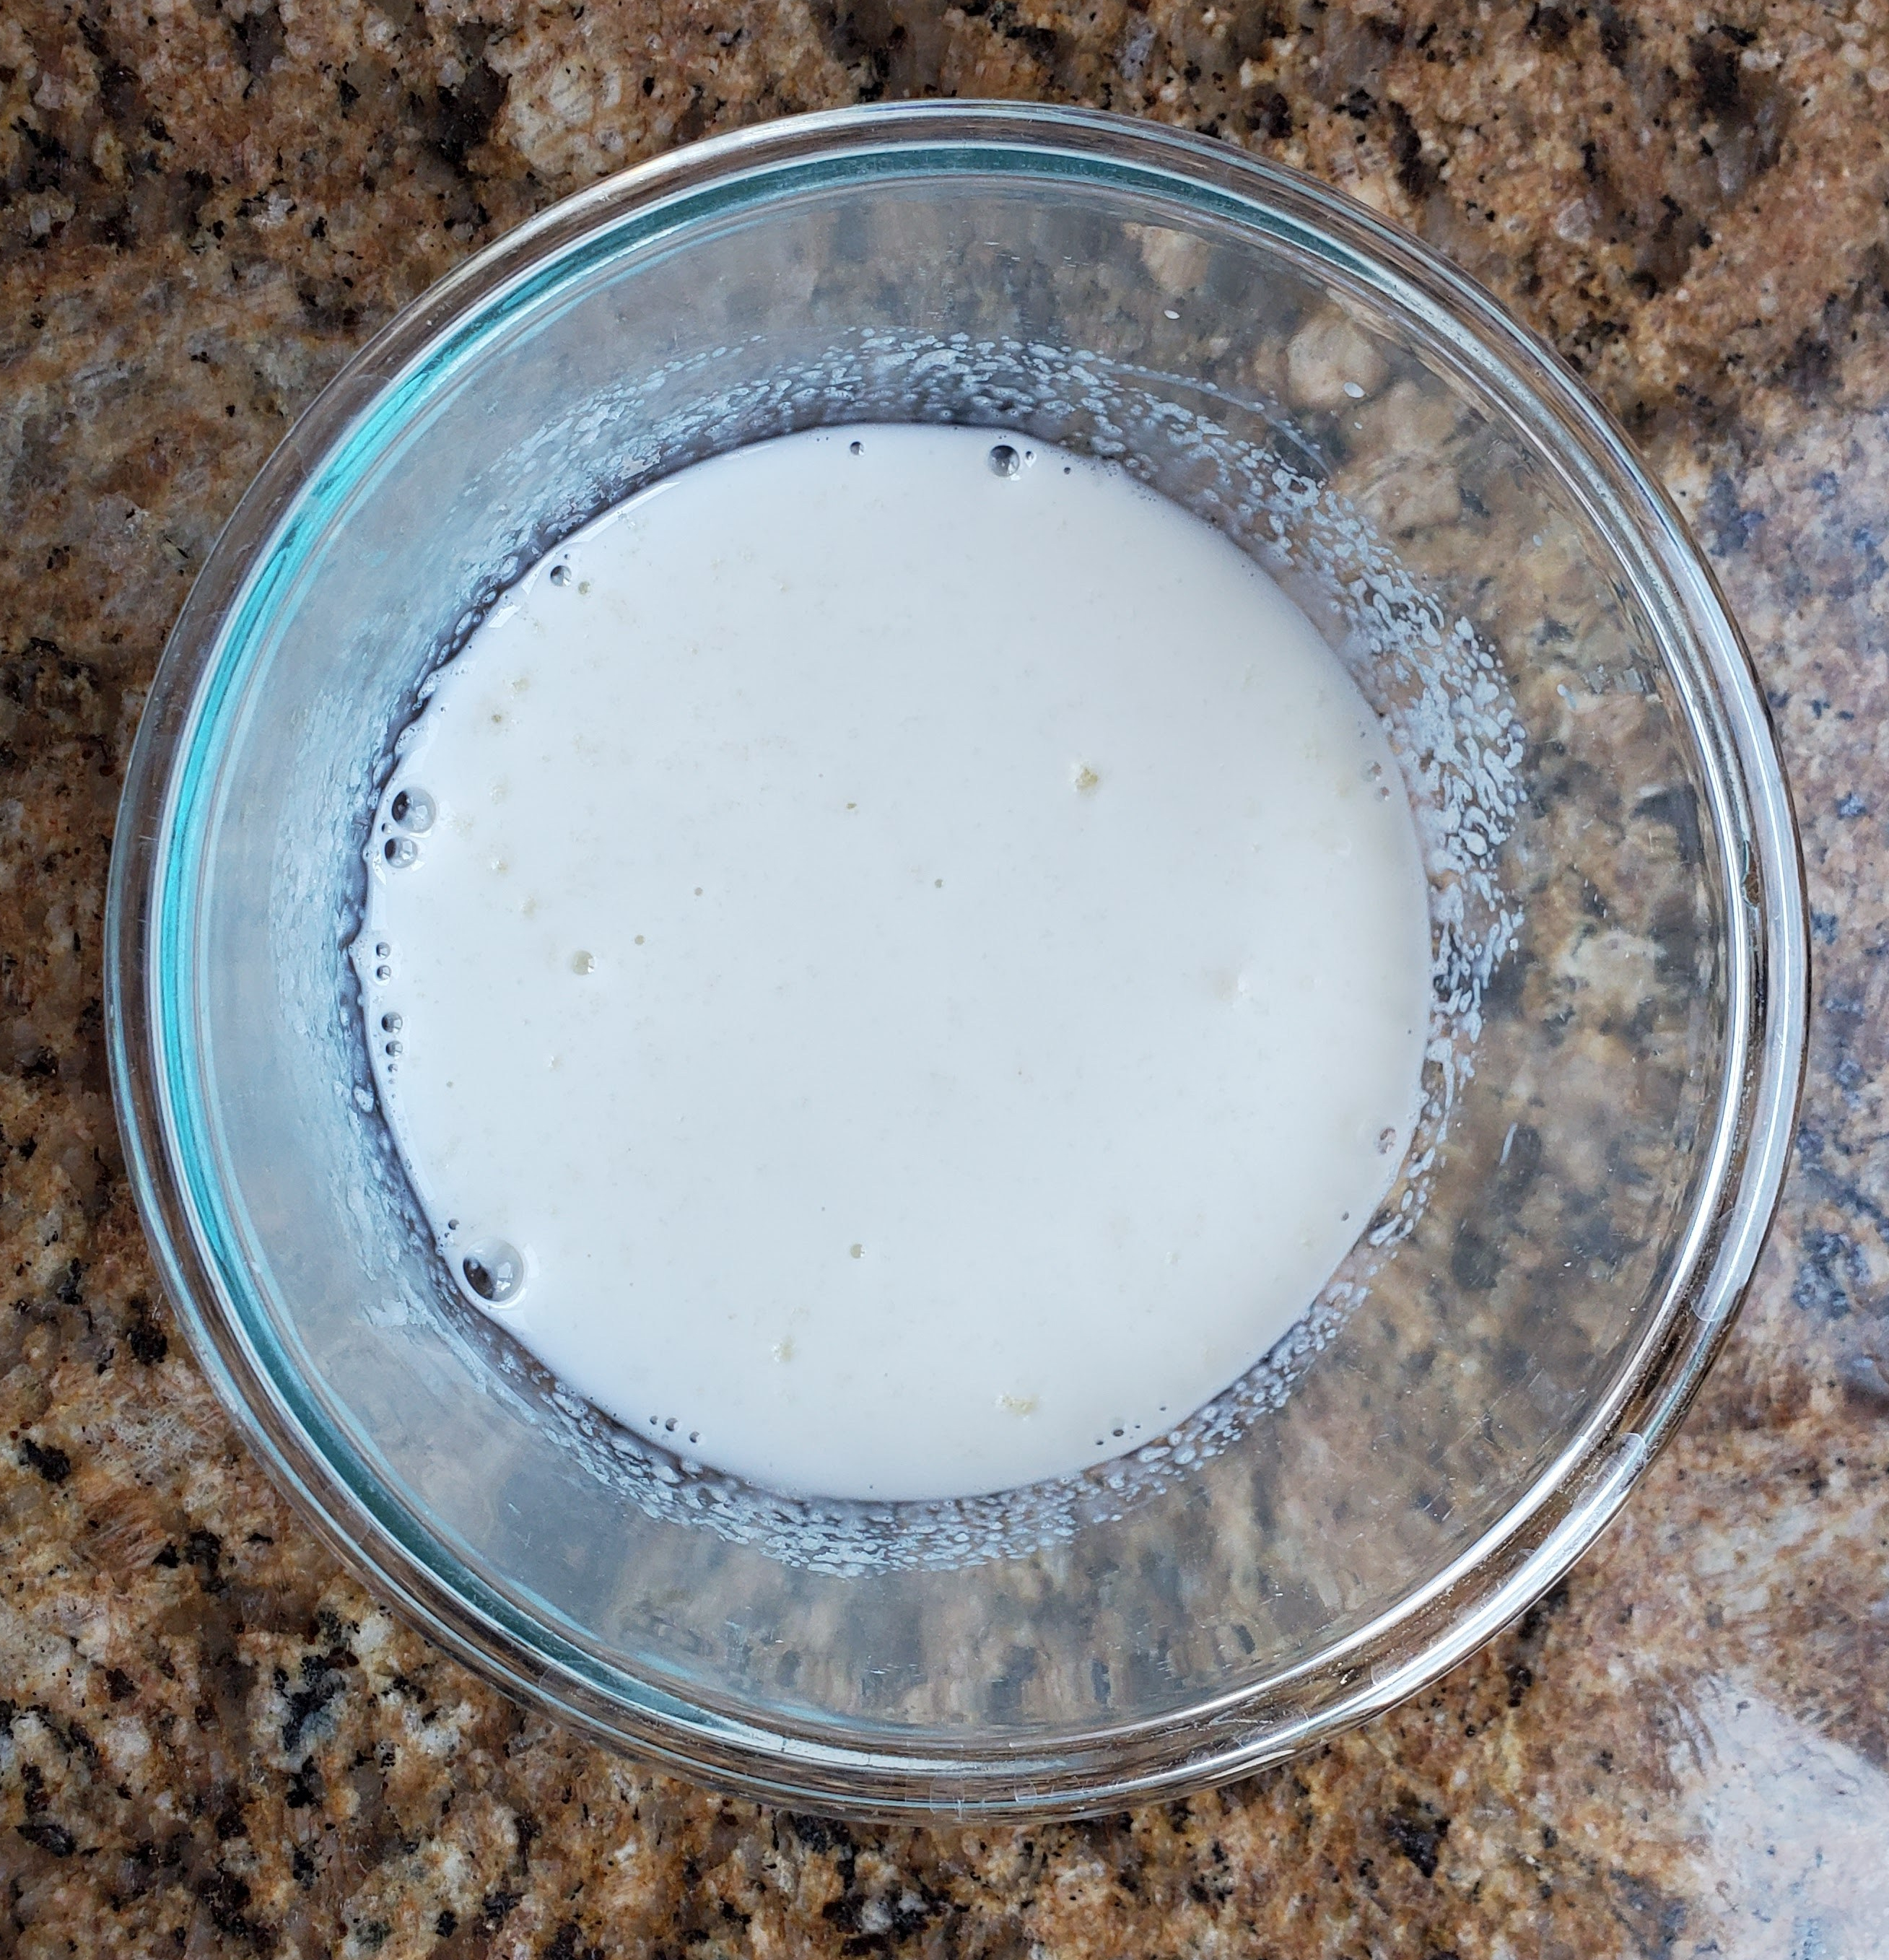
In a small bowl, add 3 Tbl Milk and sprinkle 1 1/8 tsp Gelatin on top of it. Let it sit for 5 mins so it “blooms”.
Add the rest of the 2 Tbl of Milk, stir and place in the microwave for 10 seconds and stir until the Gelatin dissolves.
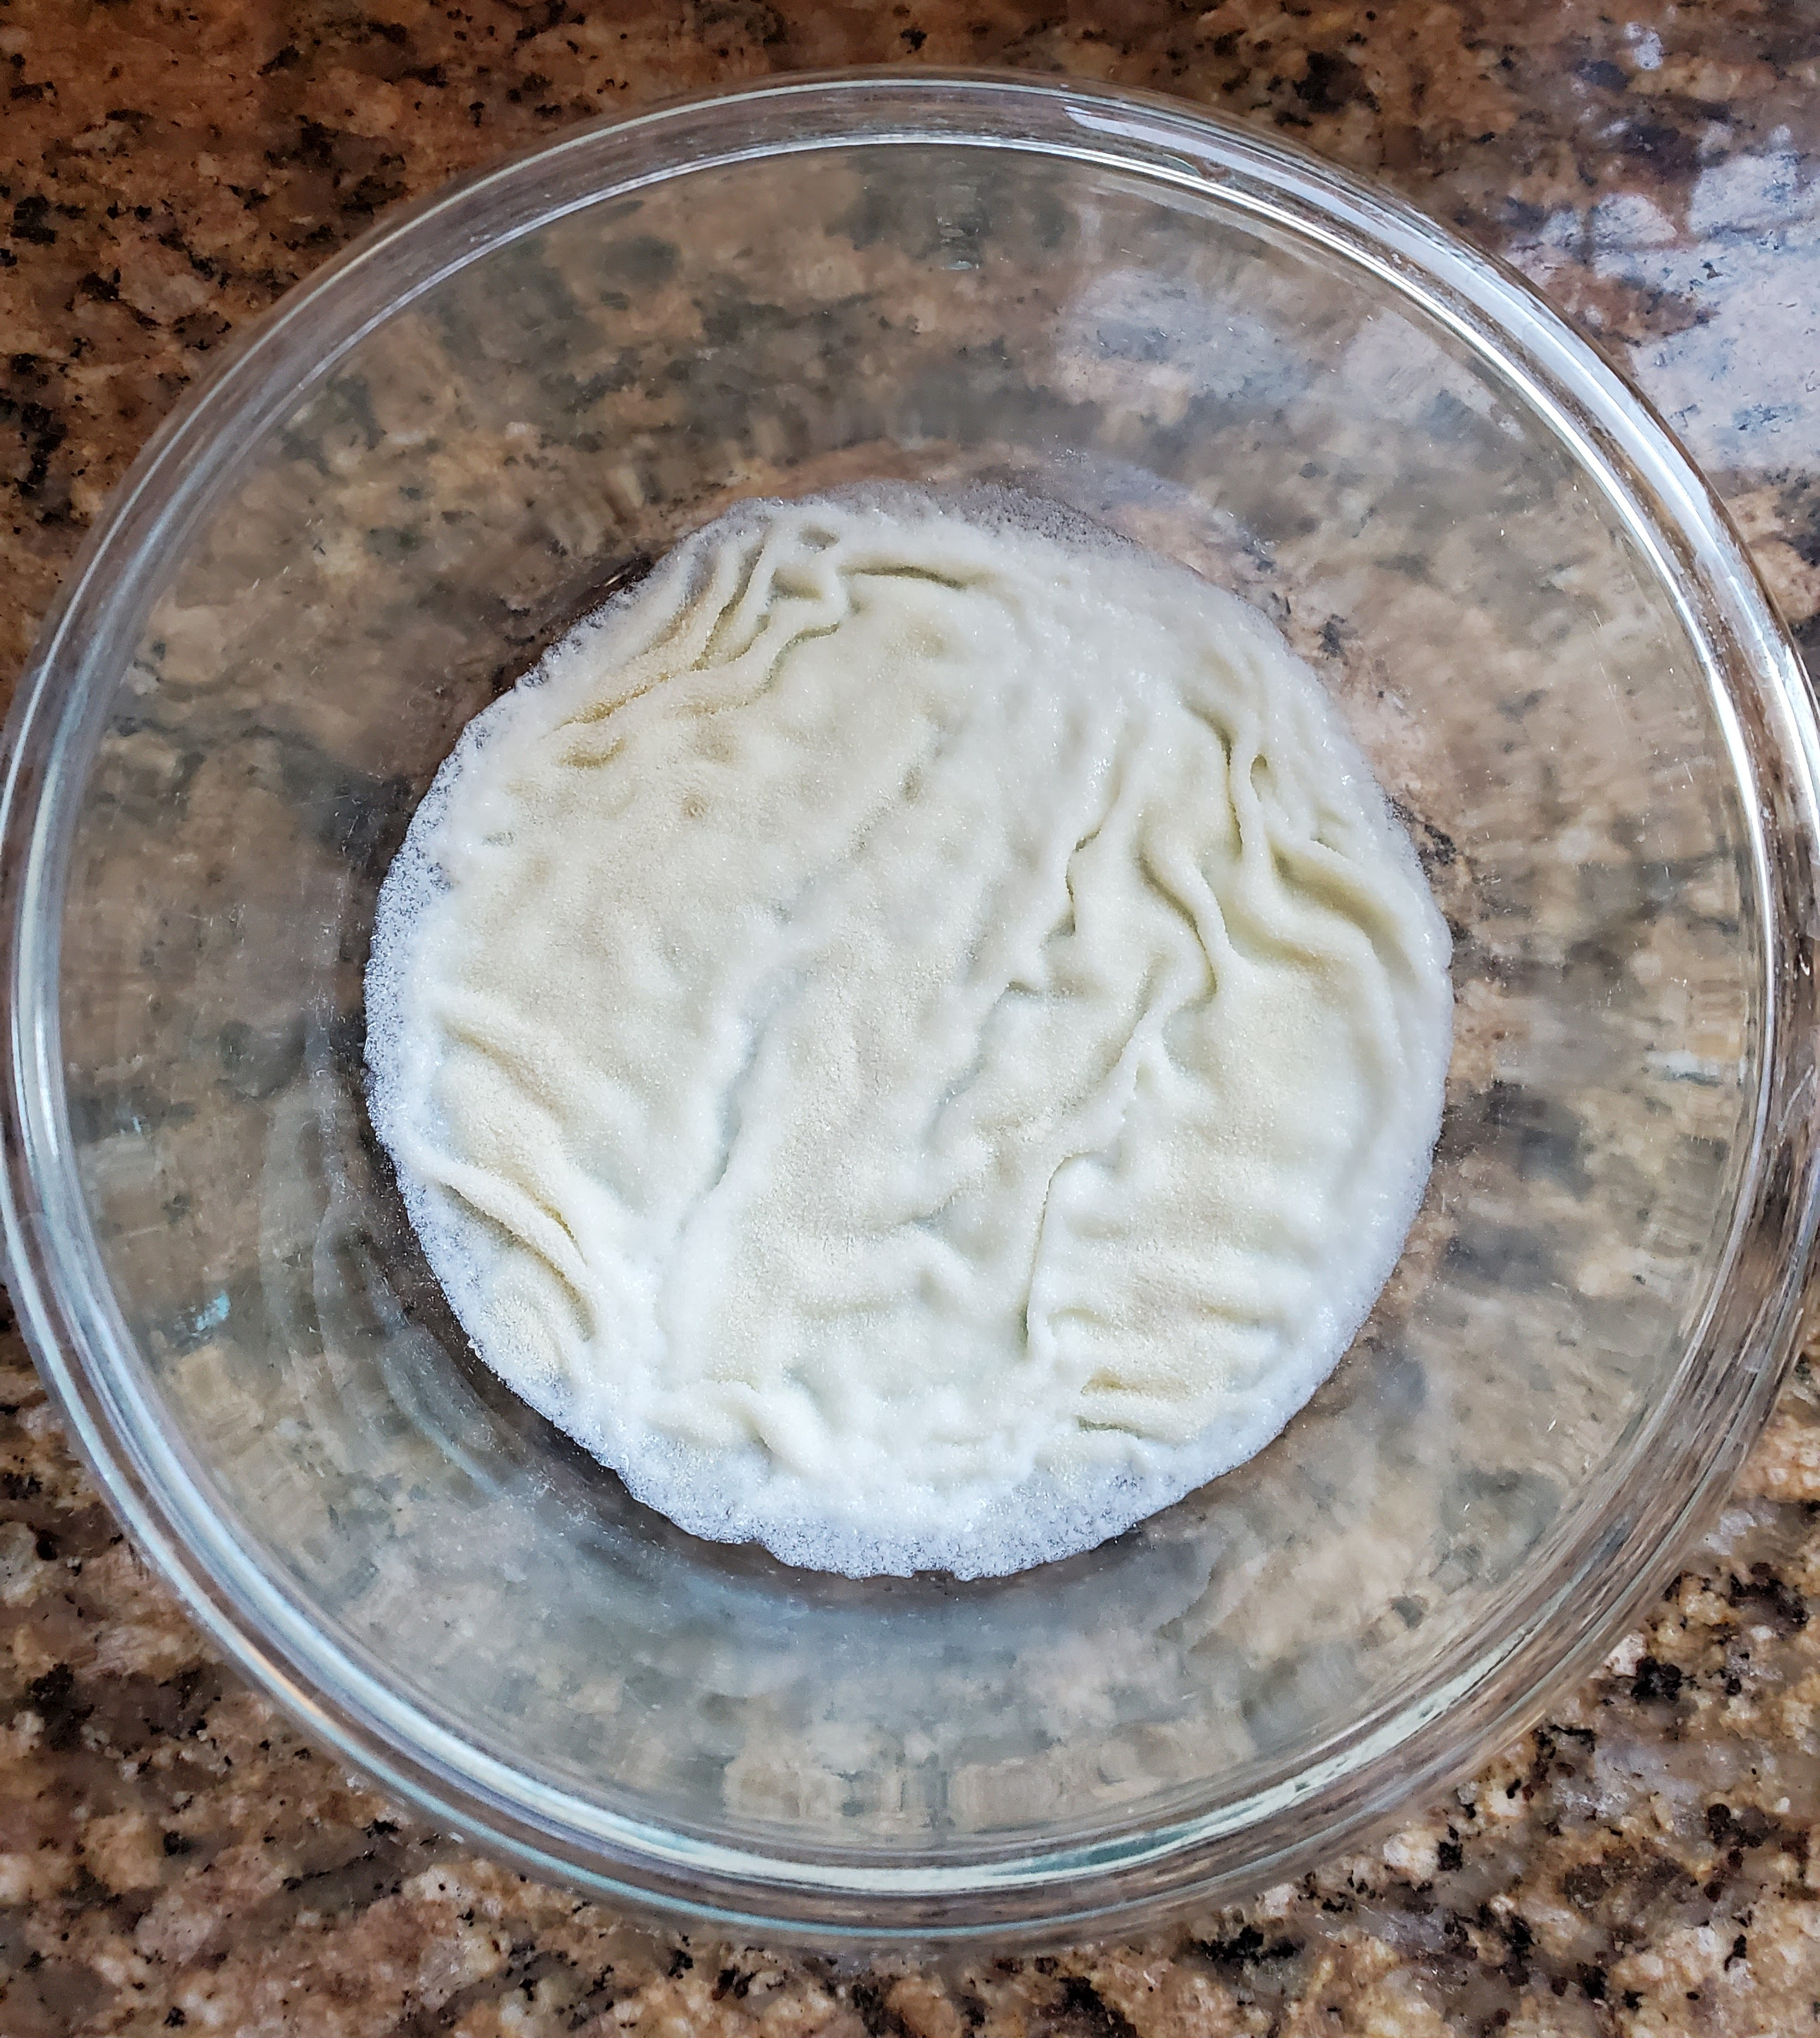
Take out the bowl you placed in the fridge or freezer and add the 1/2 cup cold Heavy Cream and 1/4 cup Powdered Sugar. Whip on medium-high until you get medium peaks.


Add 1 tsp Vanilla and Gelatin Milk mixture and whisk until stiff peaks form (when the peaks will stand on your whisk).

Gently fold in the crushed Oreo Cookies. Pour into the prepared pan and using a spatula, gently smooth the top until it’s even. Cover with cling wrap and place into the fridge for at least 24 hours.


Step 3: Chocolate Cake Layer
**You can make this and the frosting the day you are going to assemble & serve the cake. **
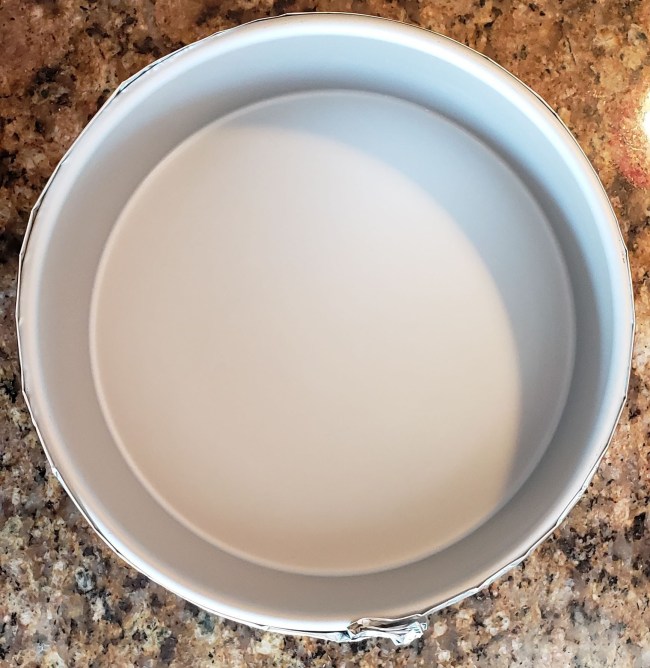
Spray 2 – 8 inch Cake Pans with Pam spray (You only need 1 cake for this recipe but the box mix makes 2. You can wrap the second cake in cling wrap and foil, and freeze.) Make sure to spray the sides as well. Add a parchment round to the bottom and spray with PAM again.
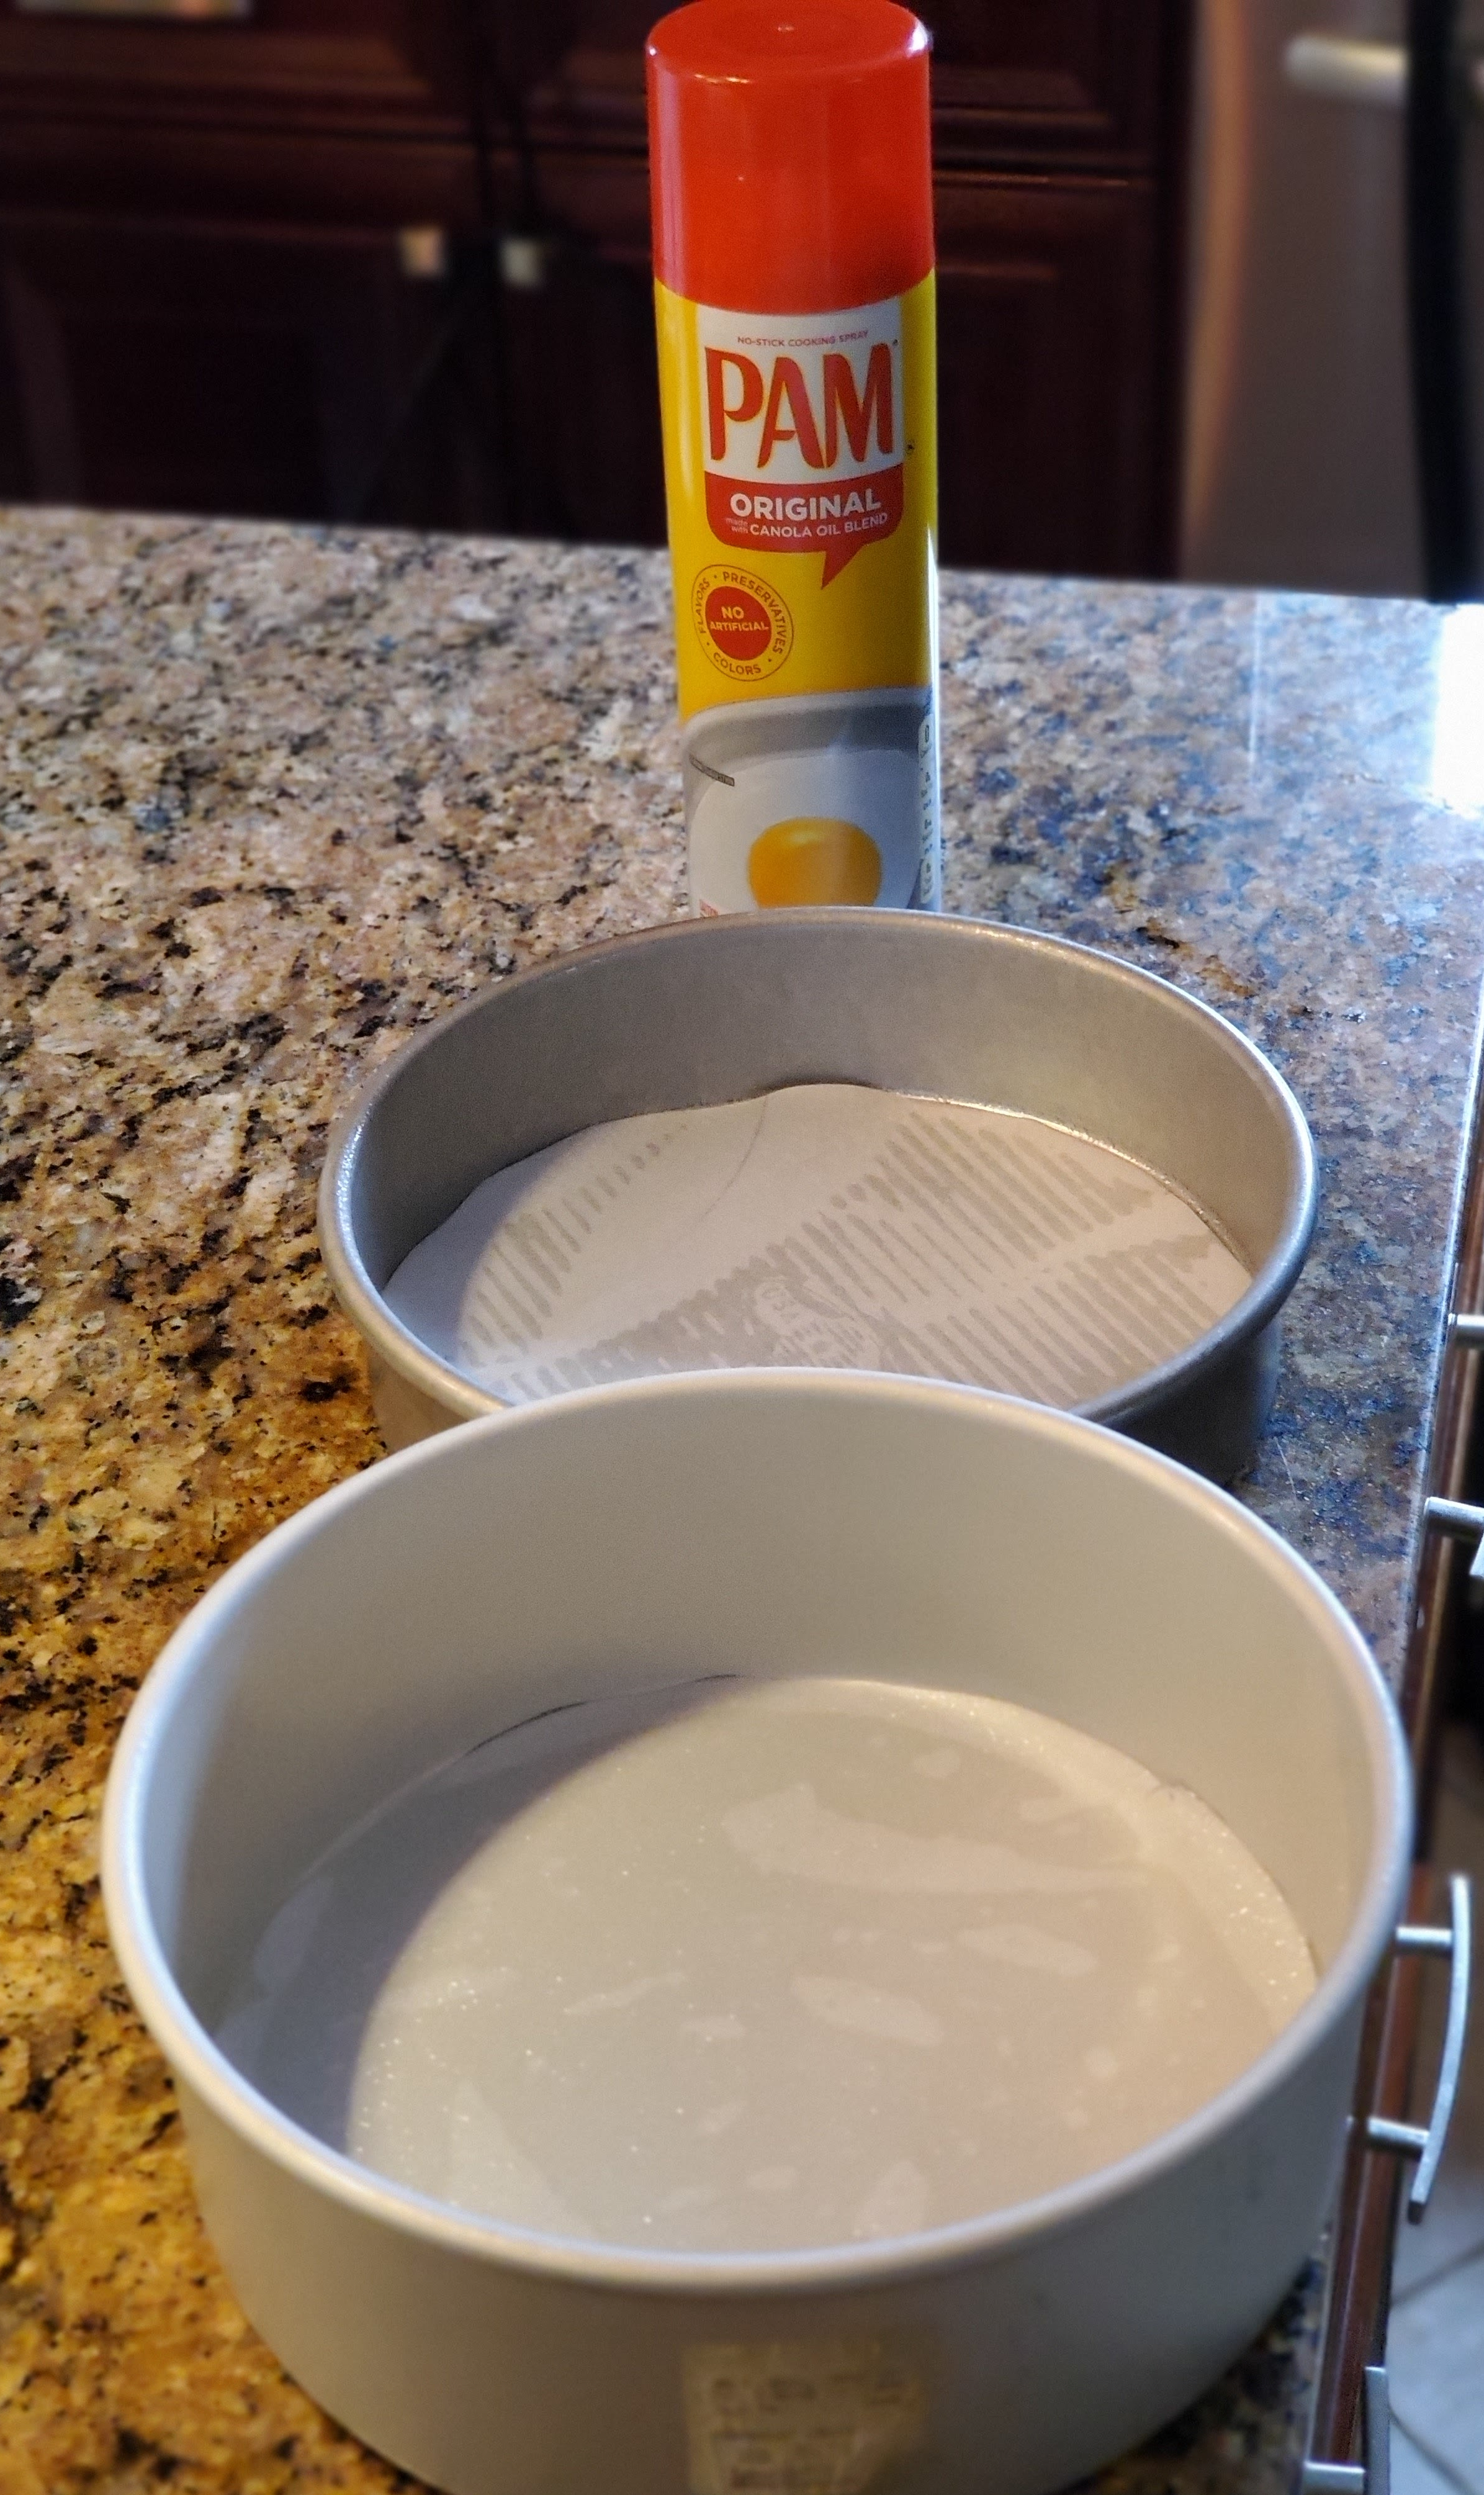
Make a foil collar as shown in the pictures below and place around the cake pan. Set aside.


In a large bowl, add 1 package of Pillsbury Devils Food Cake mix, 1 cup Water, 1/2 cup Vegetable Oil, and 3 Eggs. Mix with a electric mixer until smooth. Pour half of mixture into each cake pan and smooth with spatula.


| Omni/Omni Plus | Vortex Plus | |
|---|---|---|
| Time | 23 mins | 23 mins |
| Temperature | 325° F | 325° F |
| Mode | Bake | Bake |
| Rack Placement | Bottom Level (Baking Rack, not the drip tray) | Place Air Fry Tray upside down on the floor of oven. Place empty Tray on the upper level. |
| Fan/Convection Speed | LO | N/A |


Once they are done (test with a toothpick to make sure it comes out clean), place the pans on a cooling rack for 10 mins. Then flip cakes out and allow to cool for at least 1 hour.

Step 4: Milk Chocolate Frosting
Add 1 1/2 cups water to your Instant Pot or Electric Pressure Cooker. Press “SAUTE” button.

In a large glass bowl that will fit over the Instant Pot liner, add 16 oz of Milk Chocolate Chips and 2/3 cups of Heavy Cream. Place the Bowl over the Instant Pot liner. As the Chocolate melts, whisk it a few times to incorporate the Cream and Chocolate Chips.


While the Chocolate Chips and Cream are heating up and in between whisking it, cut the 2 sticks of softened Butter into about 16 pieces.


Keep whisking the Chocolate and Cream occasionally until it is completely melted and incorporated into a smooth and uniform mixture. This should take about 15 to 20 mins. Take the bowl off of the Instant Pot.
Whisk in the butter for 15 seconds and then let the butter sit in the Chocolate mixture for about 5 minutes so it can melt. Whisk after 5 minutes, until the Frosting is nice and glossy and smooth.


Cover with cling wrap and place in the fridge until ready to use (but at least an hour).
Step 5: Preparing to Assemble
About an hour before you are going to assemble the cake, place the Cheesecake into the freezer. This will help you move it onto the cake layer when the time comes.
Take the frosting out of the fridge and whisk. The frosting will be stiffer and lighter. Place about a cup of the frosting into a piping bag (if you don’t have a piping bag you can use a Ziploc bag. A trick to getting the frosting into the bag is to place the bag in a large cup and fold the edges over.) Set aside frosting and piping bag.


Set whatever serving dish or cake platter you are going to use, on a lazy susan if you have one.
Cut 5 – 2 inch x 4 inch strips of parchment paper. Lay these strips in a circle on your serving dish. This will help keep your platter clean after you frost your cake.


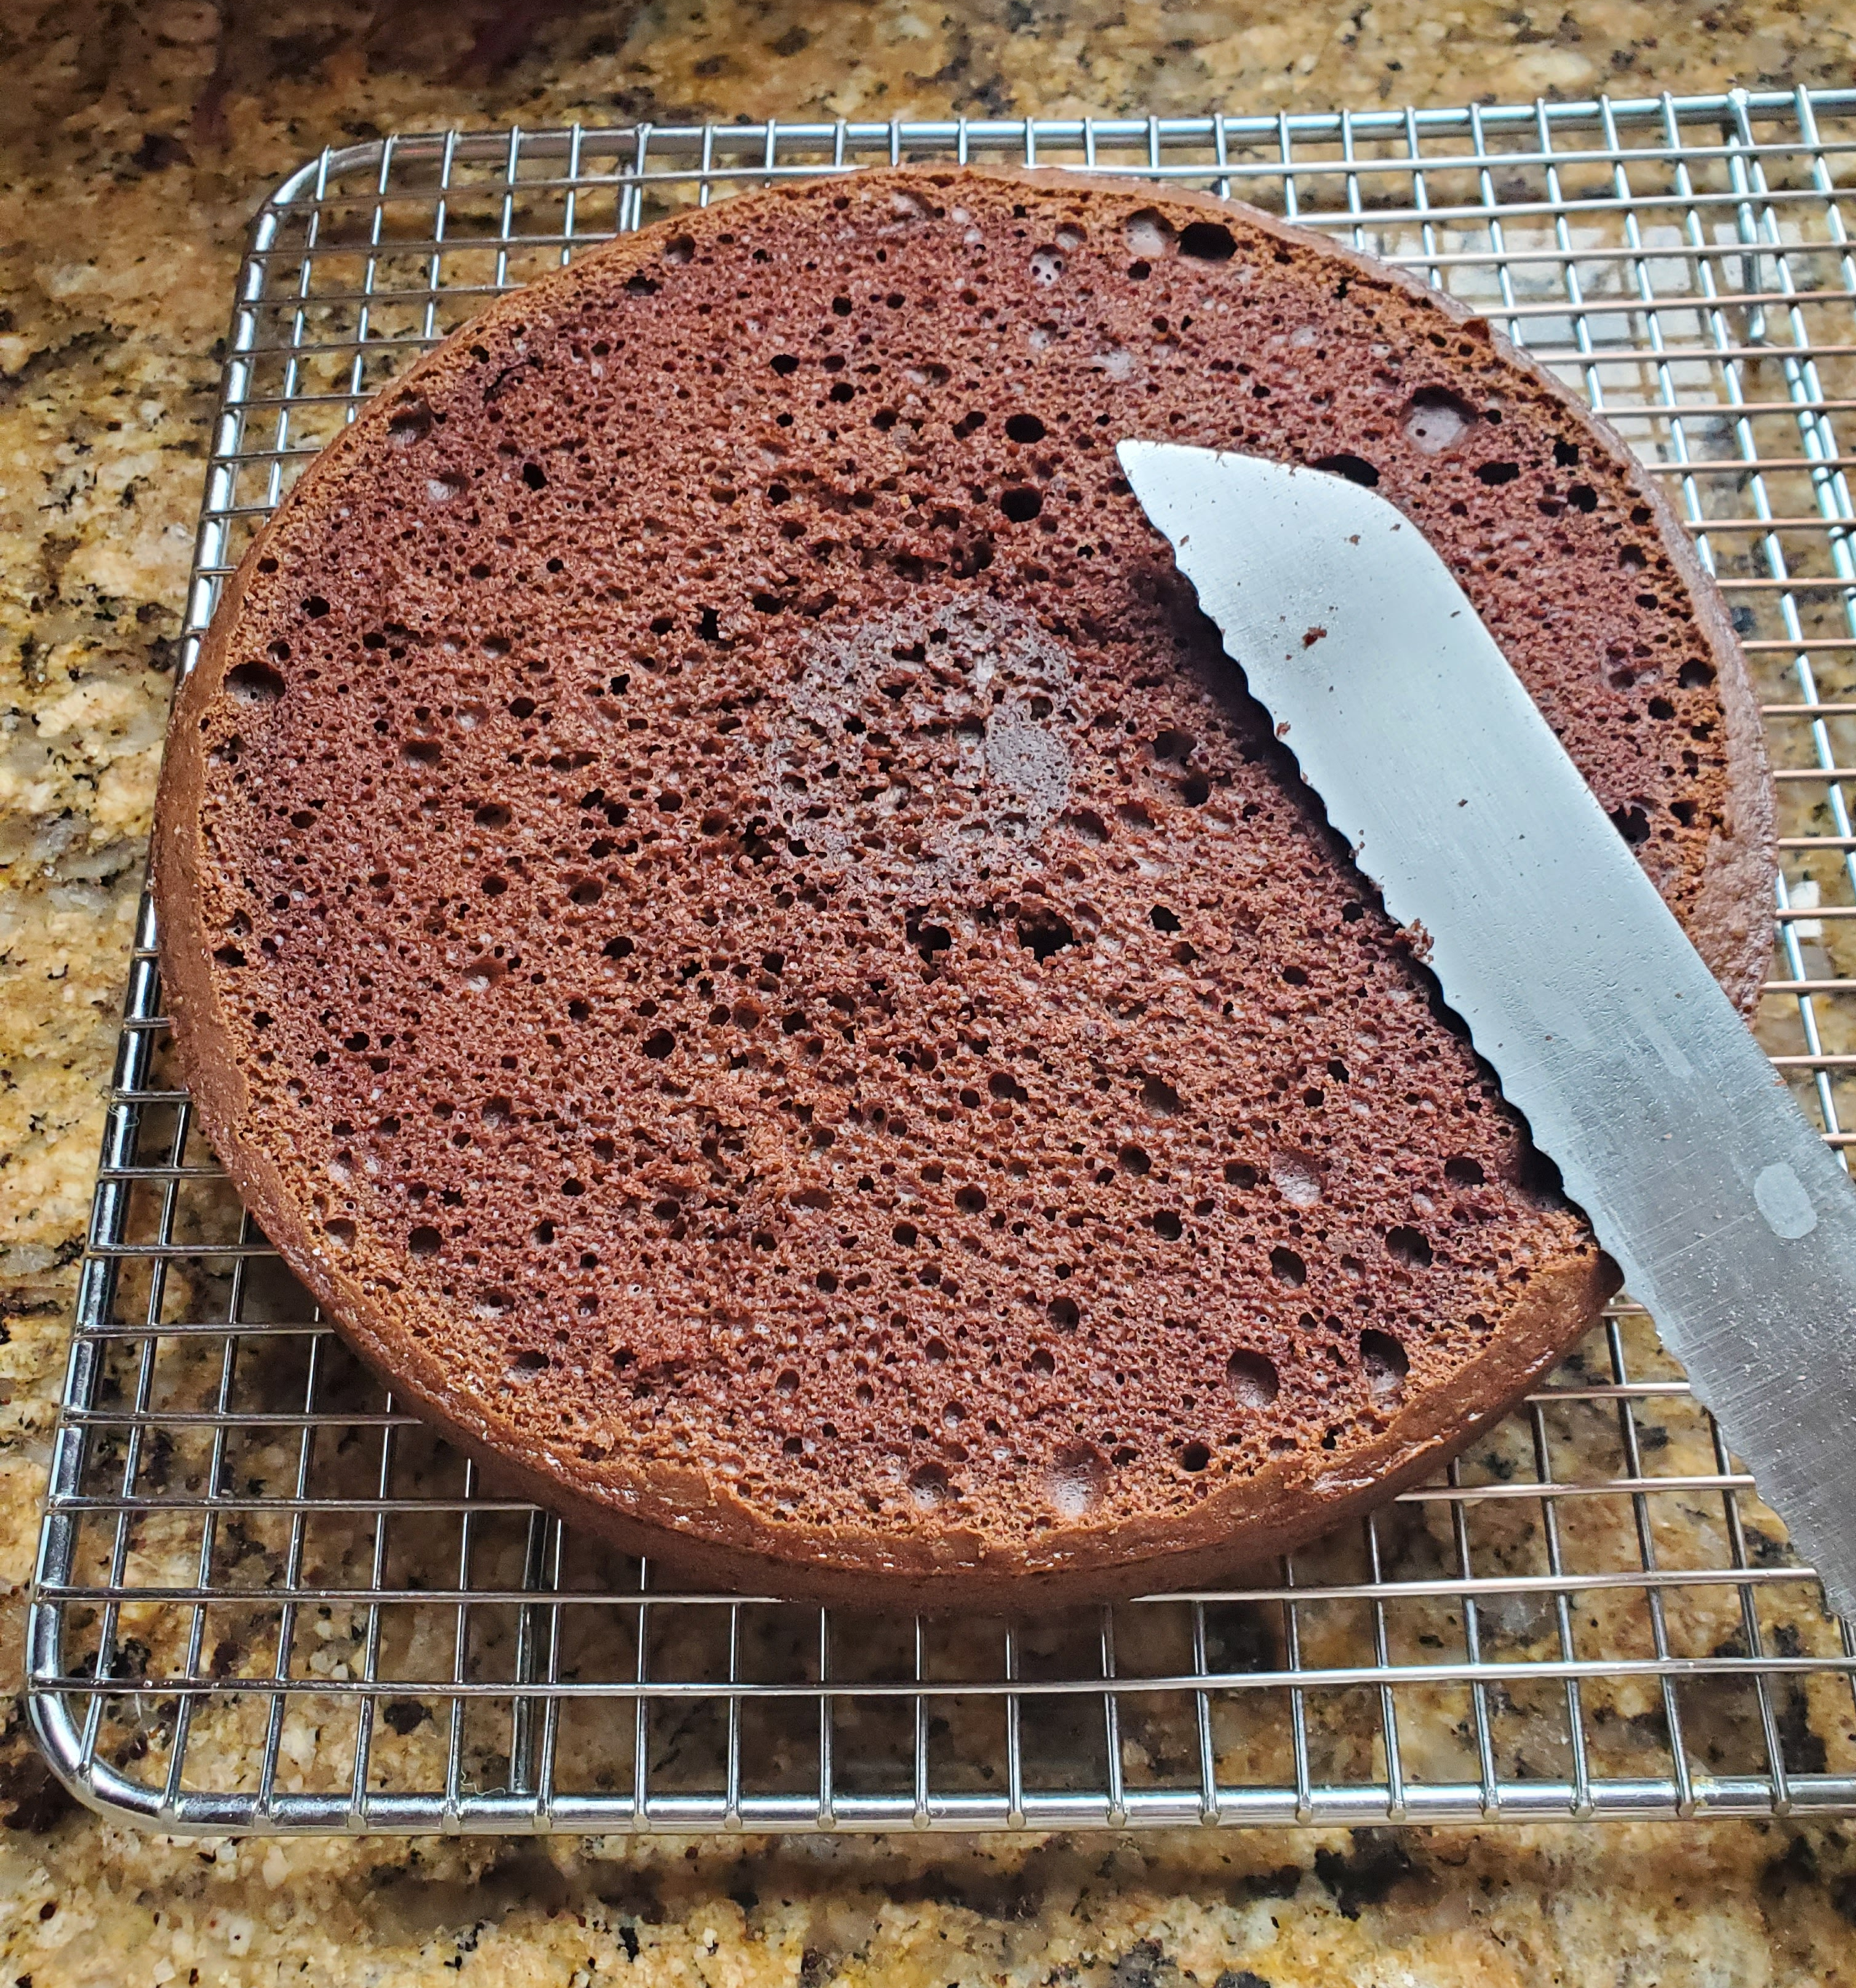
Take one layer of the Chocolate Cake and using a serrated knife, slice off the domed top so you have a flat cake.
You now have to cut the Cake Layer into a 7 inch circle so the cake is all one size. You can use the top of your Flanera, the bottom of a 7 inchs Spring form pan, or anything that is a circle with a 7 inch diameter. Place that on the cake and using a sharp knife, cut around it so you have a 7 inch cake layer. Now you are ready to assemble the beast!
Step 6: Time to Assemble!
Place the Chocolate Cake Layer onto the cake plate (a good tip is to place a small dollop of frosting int he center of the plate to keep the cake from sliding as you work with it.)


Spread a thin, even layer of the Frosting with an off set spatula. Only spread this on the top, not the sides of the cake.
Take the Cheesecake Layer out of the freezer and run a knife around the edge. Lift the sides of the spring form pan off the off.
Place a piece of parchment paper on the top of the Cheesecake and flip onto a flat cutting board or flat plate. Lift off the bottom of the spring form pan and make sure to remove the parchment paper from the crust if it is stuck on.


Now, carefully flip the Cheesecake onto the Chocolate Cake Layer so it’s as centered as possible. If it’s a little off center you can try to move it a bit, but don’t worry too much because you can fix it with frosting later.

Now do the same thing with the Oreo Mousse Layer. (If you didn’t use a spring form pan for the mousse layer, when you flip it over, you can tap the bottom of the pan to release it.)


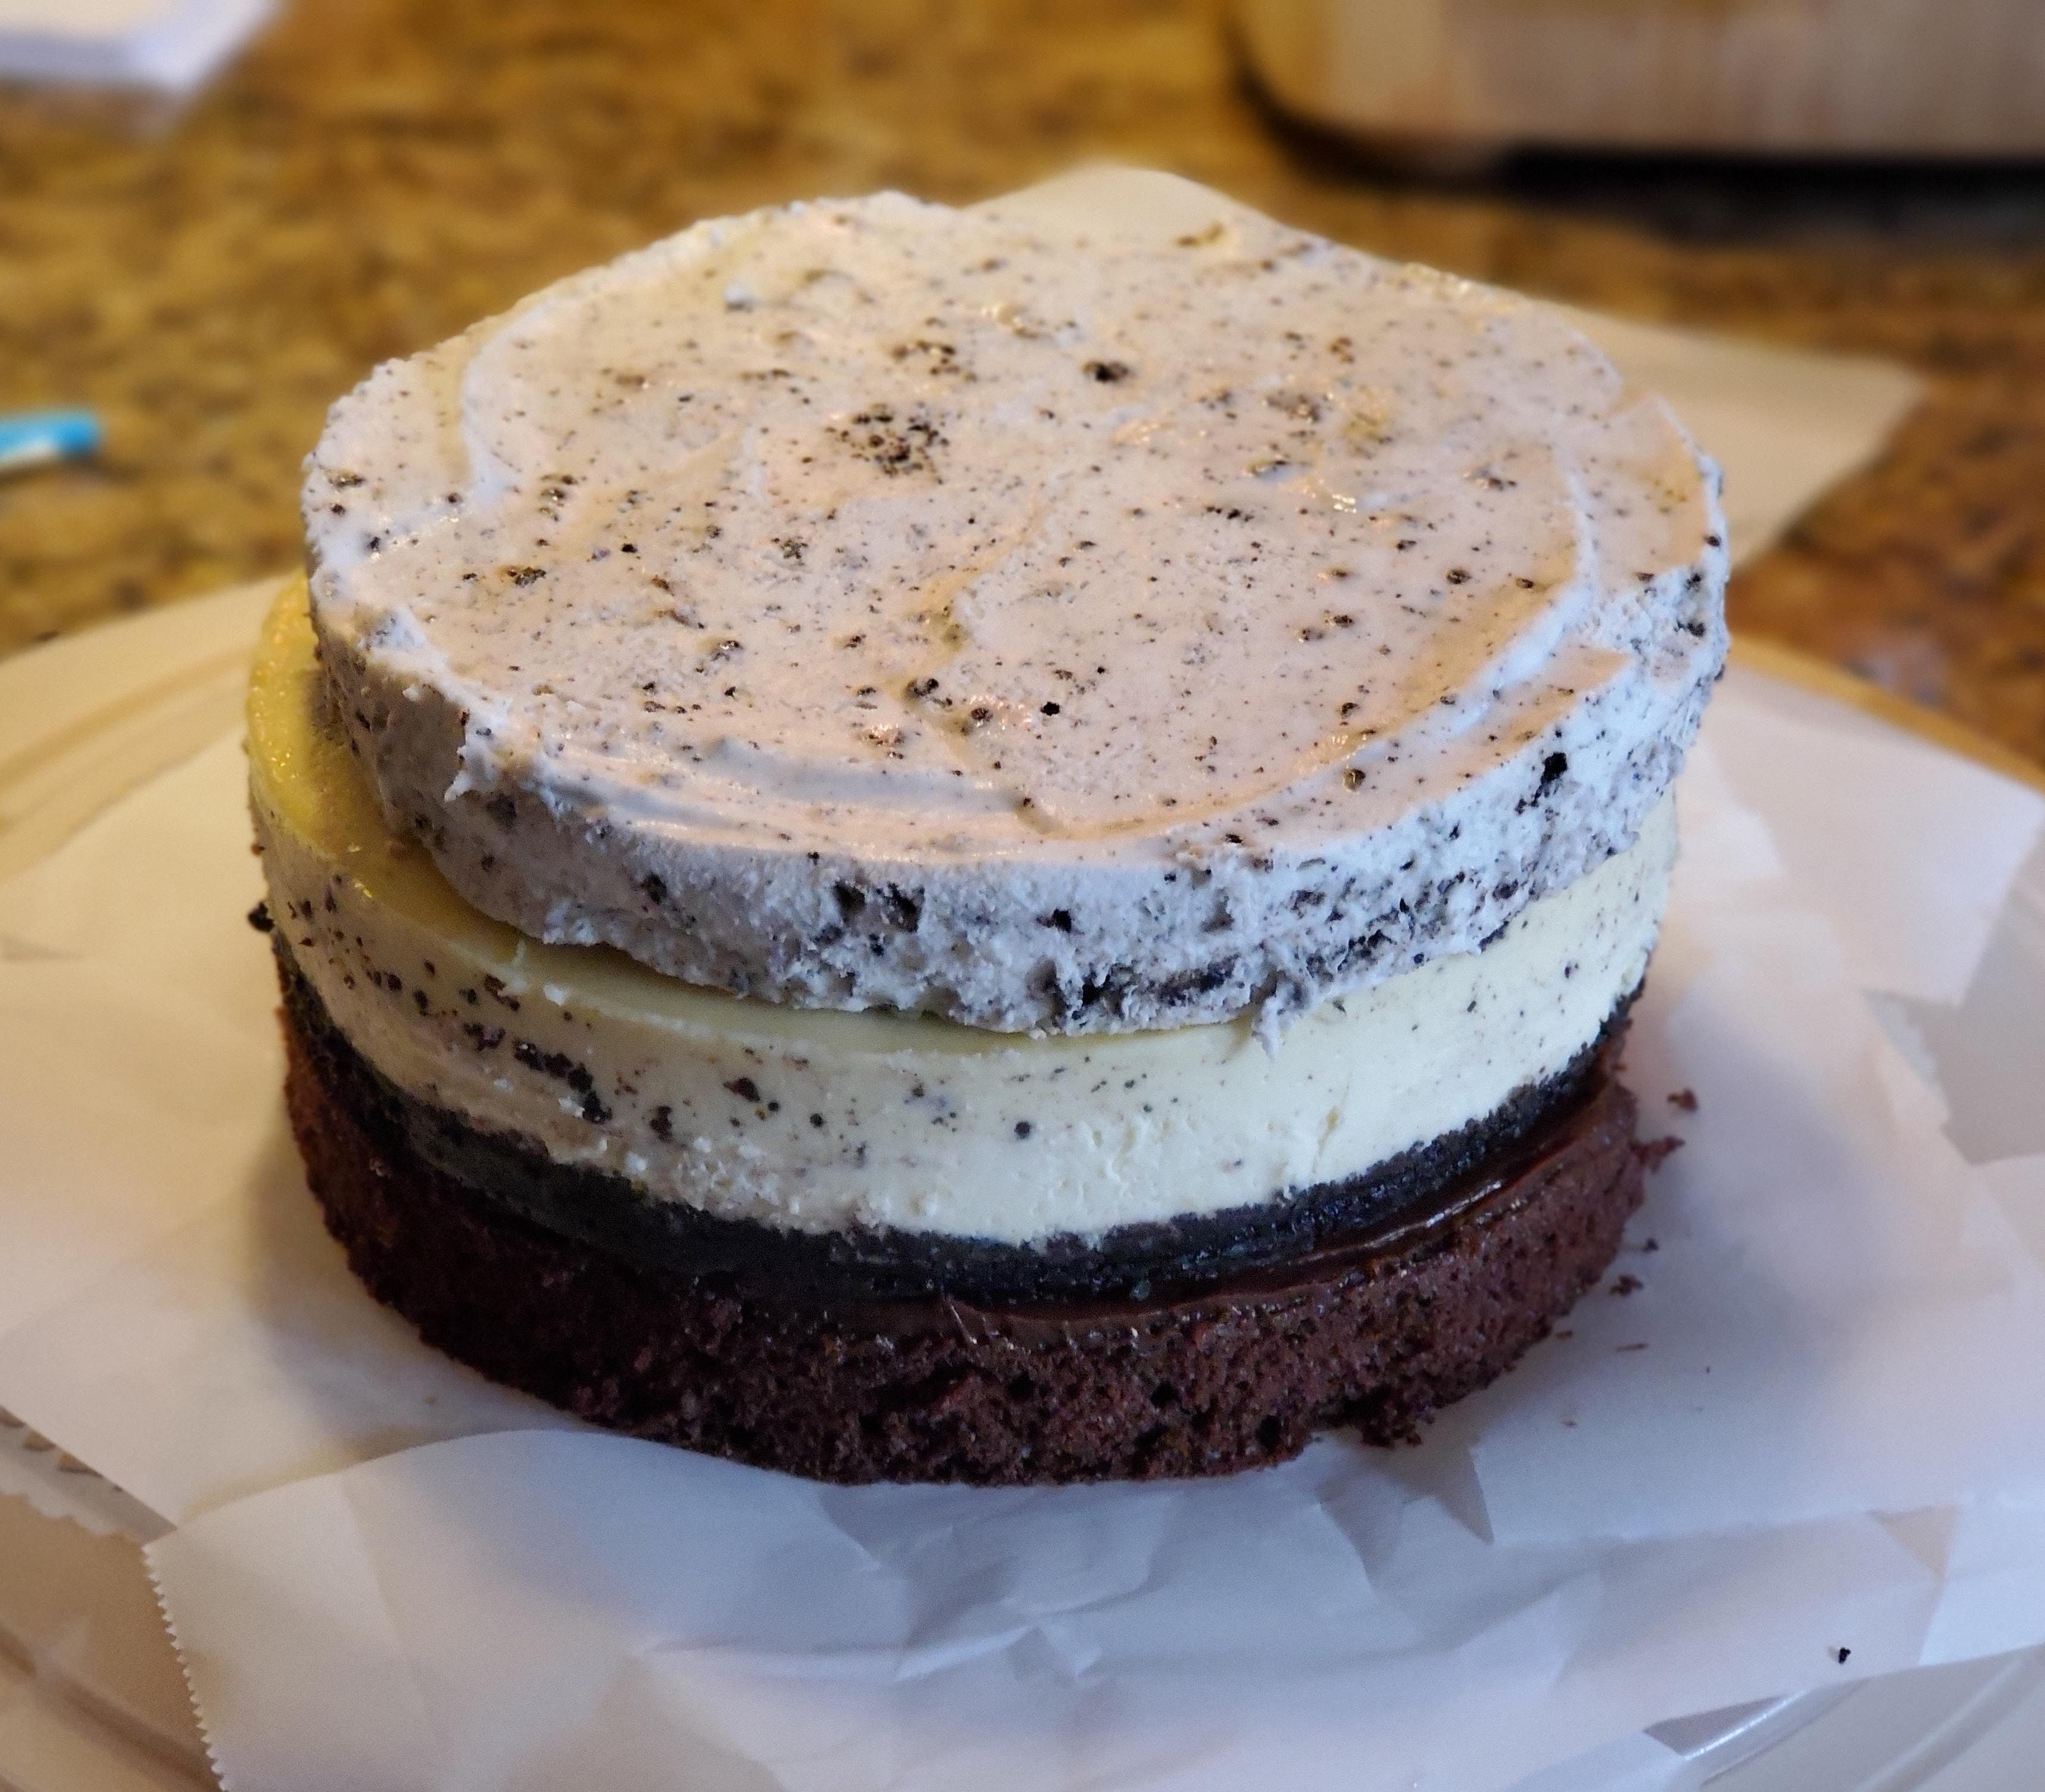
Place a large dollop of the Milk Chocolate Frosting on top of the Mousse Layer and smooth with an off set spatula. Take your time so you don’t mix it into the Mousse.
Scoop a large dollop of frosting with your off set spatula and slowly start to cover the sides of the cake. A good trick is to use more frosting than you think you need and then smooth that up and down and then work around going in the same direction. Once you ahve worked all the way around, clean off the spatula and smooth the sides and top of the frosted cake.


Place chocolate chips around the edge if you wish.
Using the frosting you placed in the piping bag, pipe 8 round dollops of frosting on the top of the cake, evenly around the top edge. Place an Oreo Cookie onto each dollop.


Carefully remove the parchment paper by pulling it straight out slowly from under the cake.
Serve and enjoy all your hard work. Buen Provecho!